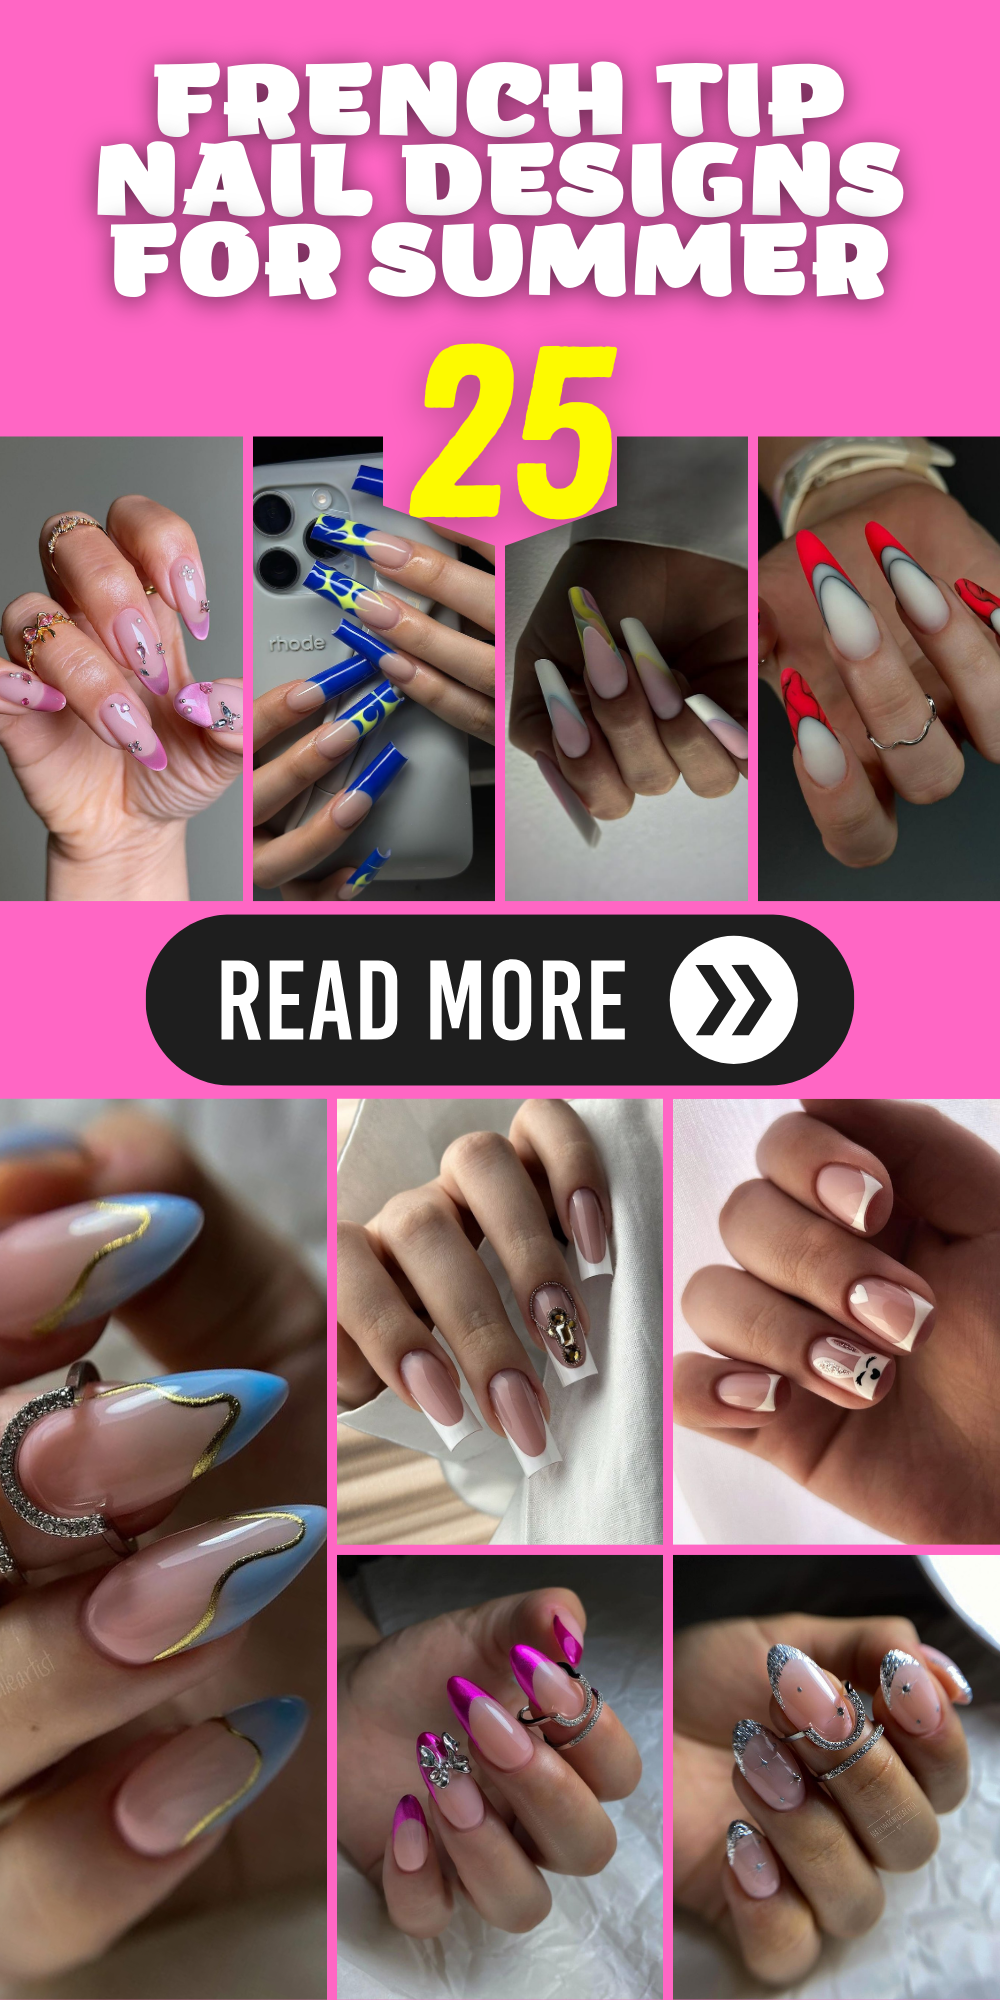
25 French Tip Nail Designs for a Chic Summer Style
Have you ever been awed by the effortless beauty of a French tip nail design and wanted to add your own summer flair? What types of manicures will make an individual stand out at the beach? So, today we will discuss about summer ready french tips, what are they like from cute short ones to luxurious long ones and everything in-between. Are you ready to explore concepts of nail art that aren’t simply about looks but also self-expression? Let me take you on this vibrant journey!
Elegant Almond French Tip with a Twist of Red
Eternally, the almond-shaped nail is appealing but when red stroke follows, it becomes a perfect merge between sophistication and risk. A long almond-shaped nail with nice white tip which suddenly gets interrupted by bold red implies elegance as well as adventure.

- A brush with thin point for art that requires details
- The tips are painted in classic white
- Accent in bright red polish
- Apply a high-gloss top coat to make the finish seamless
It begins with fresh and clean almond shape. Paint the white from side to side of each tip using firm hands before adding some lines of red just below it – sharp and crisp. It’s French Tip gone bonkers – elegant certainly, but with its own fiery character.
Acrylics with Charm
A small accurate manicure speaks of the simple beauty that lies in a short acrylic nail. Think about the neat, short and tiny nail with a subtle green hibiscus design, which reminds one of tropical locations and summer winds.
- Already formed nails
- Green and flowered decals
- Protective clear top coat for extended wear
Put on your base acrylic while it dries; choose your sticker flowers. Take note that the green hibiscus should be at one edge as I have shown you. Finally apply a transparent lacquer to guarantee that the images survive everyday challenges and by doing so make art pieces which are like an album of your summer stored in your fingertips.
Hot Pink Tips for the Bold and Bright
Think of a summer-inspired manicure for fun and playfulness – hot pink tips that are hard to ignore but very delighting. This design is a shameless manifestation of color, fit for those who believe in living life out loud.
- A flash of neon pink
- Tape stripes
- Quick-drying topcoat that seals the design
Take the vibrant pink on with a stripe tape guidance. Against a neutral background, it is such an eye-catcher and cool that your tip is all about being undeniably hot. End it with some nice shiny top coat and your nails are ready to get on as they flicker through one bright confident gesture at time.
Soft Pink with Accents
The smooth change from a faint, pale pink shade to a bolder one on these nails is no less than magical. The simplest of all designs on your nails are these crystals and little flowers which speak of spring gardens and mild morning dew.

- Pink light to dark ombre gel polish
- Small clear glass stones
- Little floral nail transfers
- Fine pointed tweezers for sticking the tiny pieces together
- A long lasting finish coat
For this gradient look, work your lighter pink gel from the base fading into the darker shade into the tip. Curing is done, it is time to be artistic; place each crystal and decal with precision using tweezers for accurate placement. Your final touch should include putting a top coat on your blooming nail art so as not to lose it even during summer getaways.
Save Pin

Glitter-Tipped Magic with a Hint of Blue
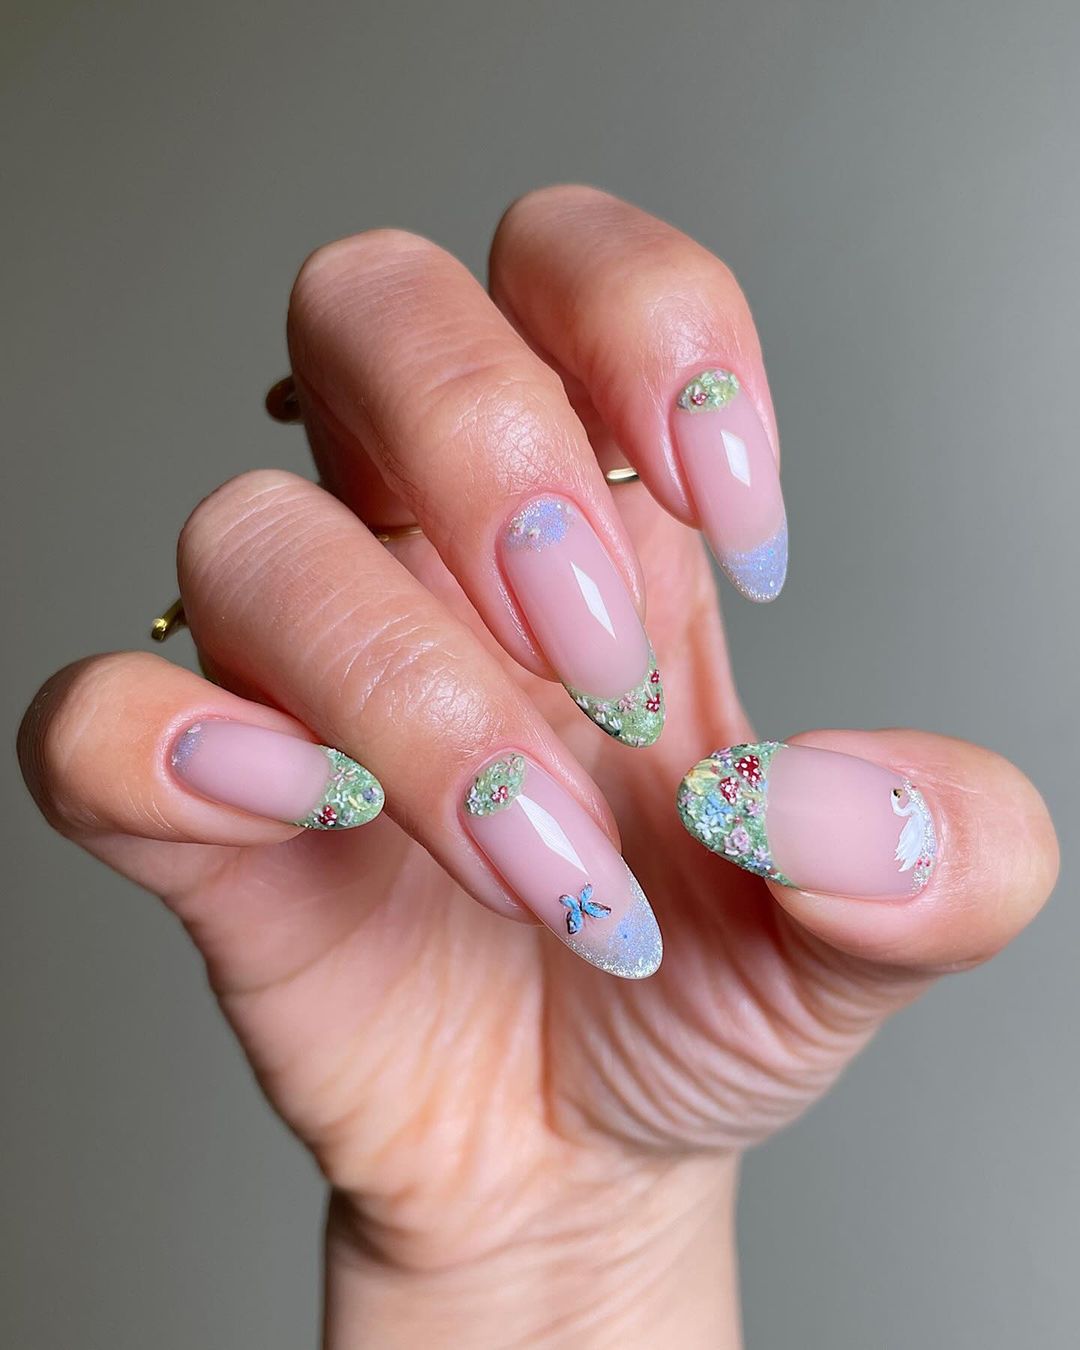
The glittery tips dusted in a dreamy blue on top of a neutral, soft base create a celestial transformation. Small butterfly decals remind one of carefree days under the sun with an imbibed playful touch that recalls clear skies.
- Sheer pink gel polish for the base
- Blue fine glitter dust
- Butterfly nail stickers
- Sponge applicator for glitter
- Glossy top coat
To begin, paint sheer pink over your nails. Blend blue glitter over your polished nails using sponge applicator without causing any break. Let these tiny butterflies stickers be the finishing touch as if they just settled down on your finger tips. Finally, apply a glossy coating to seal everything in place and keep sparkly effects lasting long
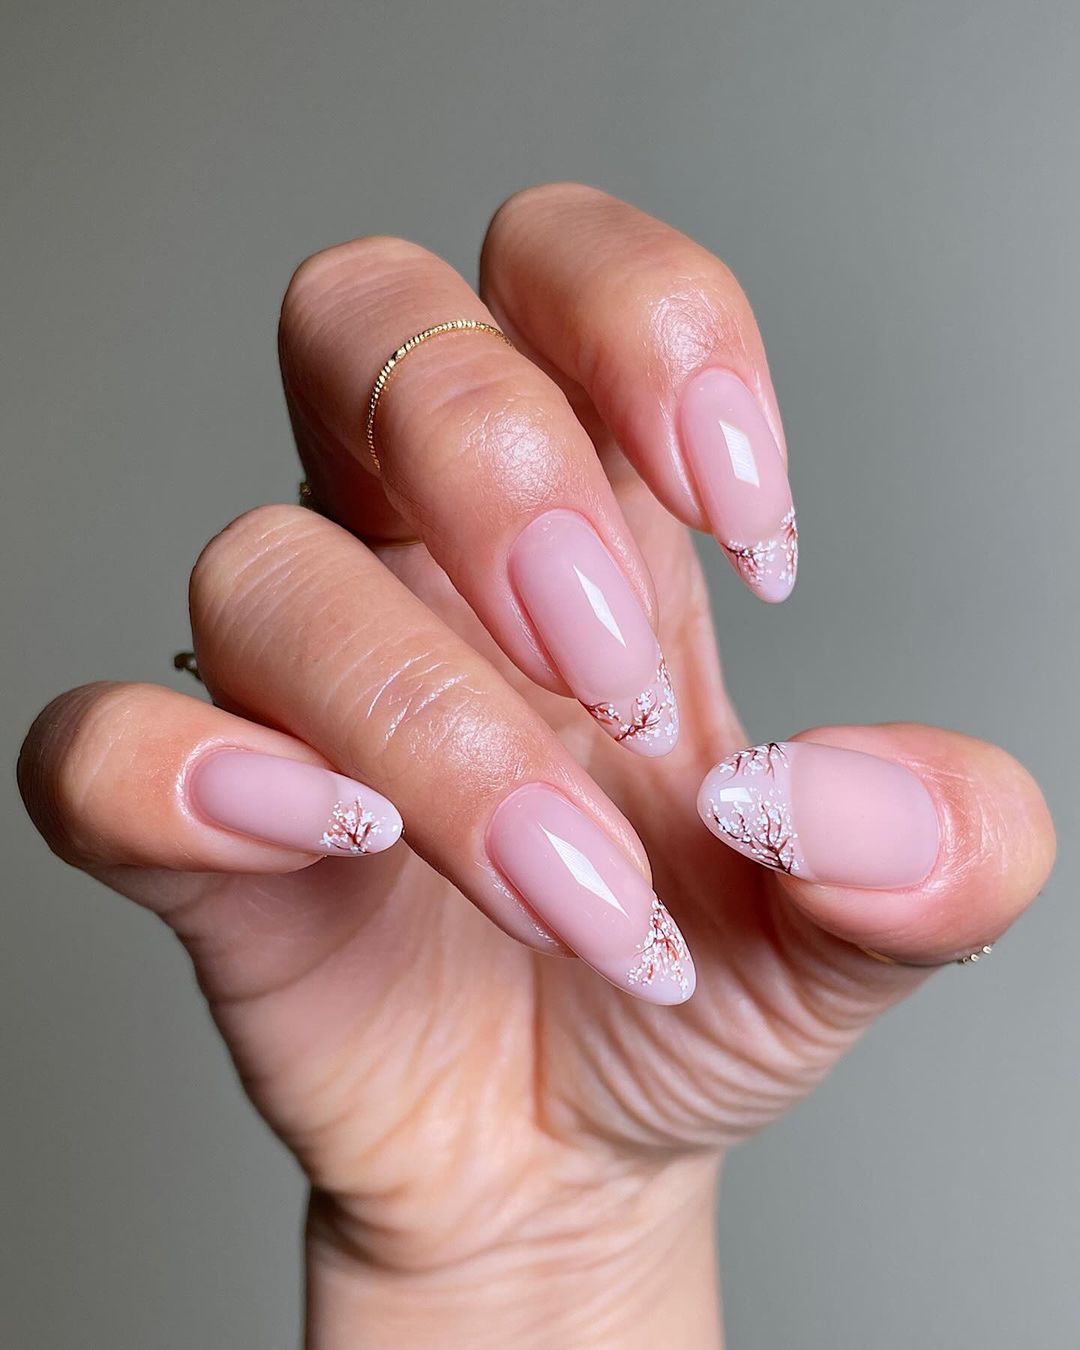
Classy French Tip with Lace Detail
The French tip design with a lacy, crystalline detail is one that speaks of sophistication and timeless class. A manicure fitting for the most exclusive summer gathering.
- Start with nude gel polish as a base
- Use white polish to French structure.
- Decorate nails using lace-patterned stickers
- Highlight with crystals
- Fix each crystal accent in place meticulously using precision adhesive dots
- Finish off with a long-lasting top coat
First paint your nails blush nude then put crisp white lines on them, a typical French manicure trademark. Take it up notch by putting lace-patterned nail stickers just slightly below the white line. Place each crystal accent carefully with pinpoint adhesive drops. Nails will keep their shine if layered over by a final coat of durable top coat.
Safari Chic with Leopard Spots
Take a walk on the wild side, with a manicure that is full of screams. The forever-something appeal of leopard spots on a French tip not only highlights courage, but also showcases the impulsive beauty and unpredictability of wild nature.
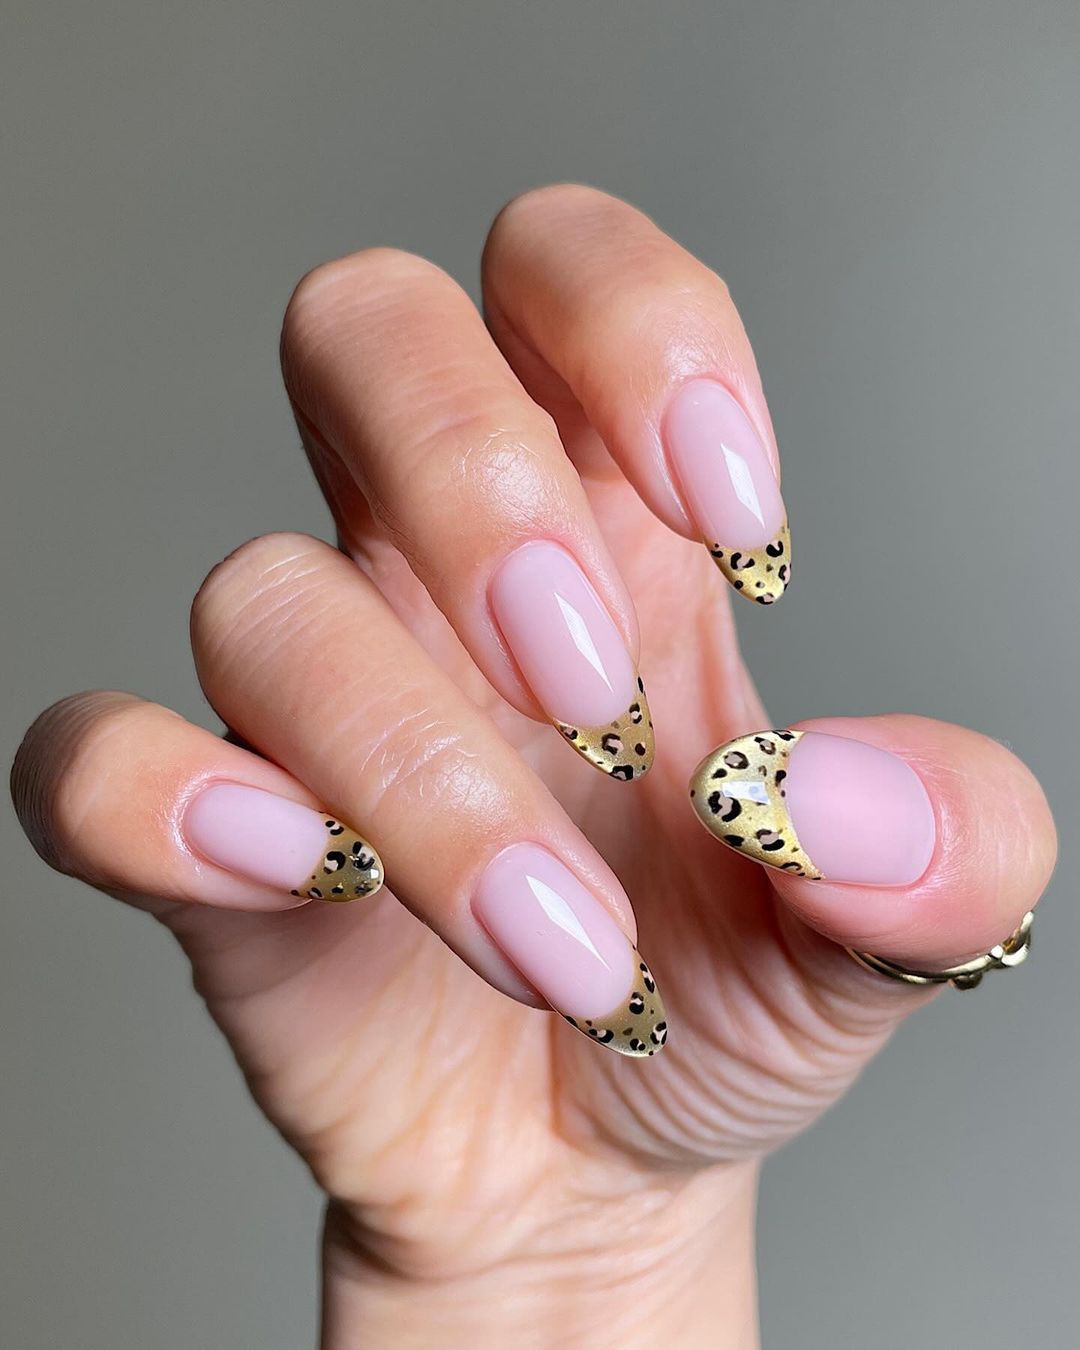
- Neutral base coat
- Black and gold polish for the spots
- Detailing brush for intricate designs
- Strong top coat for long-lasting results
To start with, we need to prime our nails with a transparent nude shade; later carefully add some gold specks surrounded by imperfect black lines. This is an elegant but fun way of expressing yourself in terms of going out into the jungle.
Love at the Tips
Who says romance is only for Valentine’s Day? This design has adorable red hearts on a classic French tip that represents love all year round. It is short but sweet and perfect for summer.
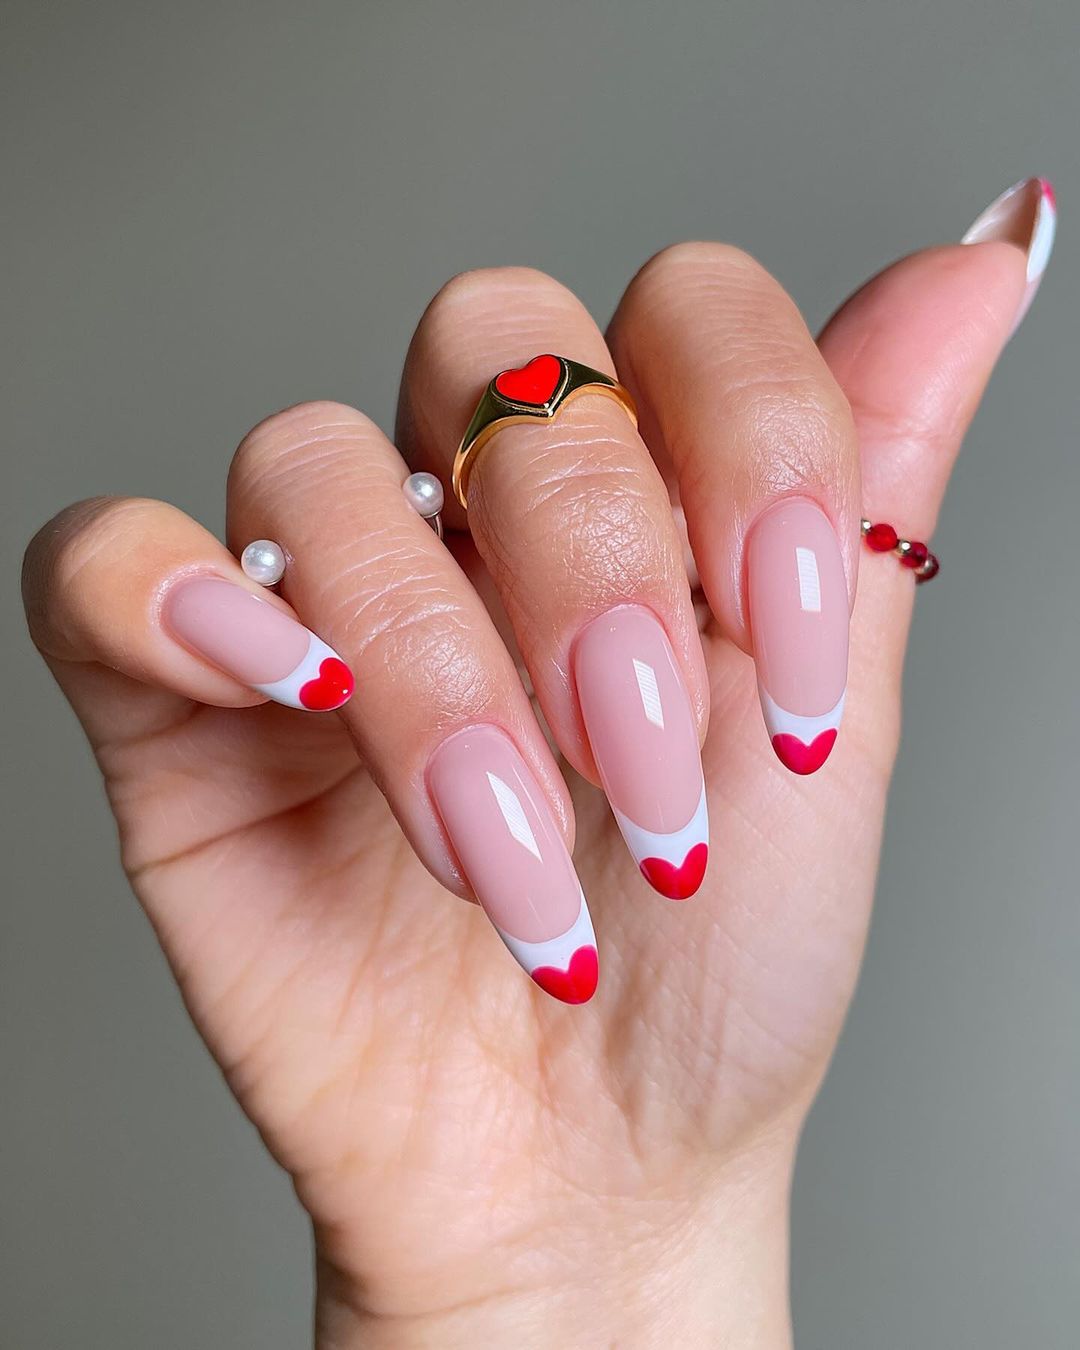
- Pink see through polish to begin
- Bright red polish for the heart accents
- A fine brush or dotting tool for heart shapes
- High-shine top coat to make it durable
For the base, apply a sheer pink. Then with precision or a small dotting tool, create mini hearts on each finger’s edge. It is what makes an ordinary become extraordinary by telling stories about the affectionate season of summer.
Neon Pop Artistry
Summer is best captured by bright neon tips, which are hard to ignore. This design can be described as a wearable festival of color and creativity when combined with abstract pop art.
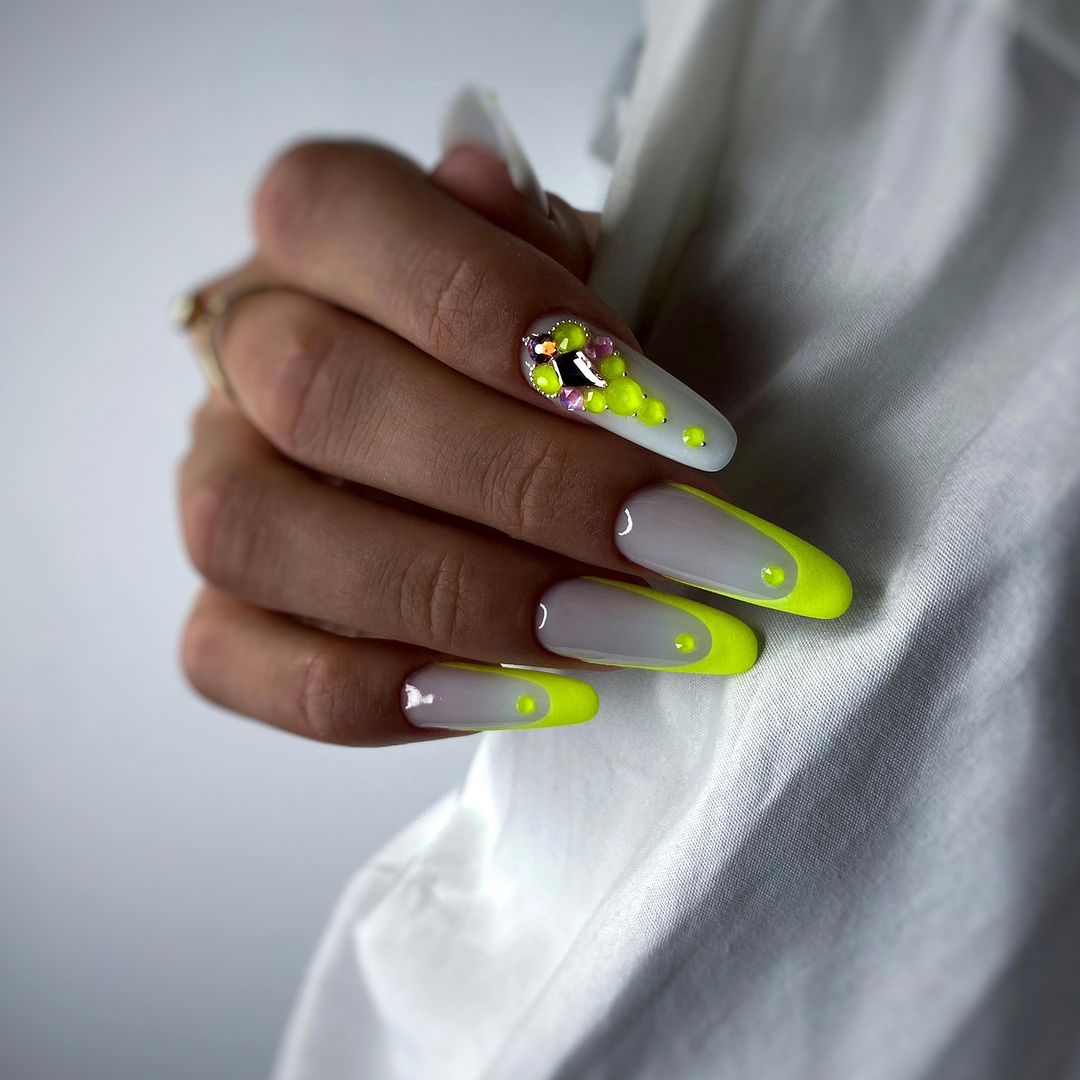
- White for the ends
- Neon yellow in order to give it that vibrant pop
- Decals of pop art or hand painted designs
- Matte top coat adds modernity
To truly have a nice look, the bright neon demands a neutral base. The white tips make up for perfect canvas on which the yellow neon will project brightly while the pop art accent—whether it is done by using stickers or hand drawing—adds some distinctive flares. To finish off the design and create a more contemporary look, one can use matte top coat.
Save Pin
Pastel Perfection with Artistic Flair
A reminder of watercolors, the nail designs are like pastels in swirling motions. In every stroke, there is a deeper meaning and more life to it. It contains various shades of pink, yellow alongside white which have a warm feeling reminiscent of summer.
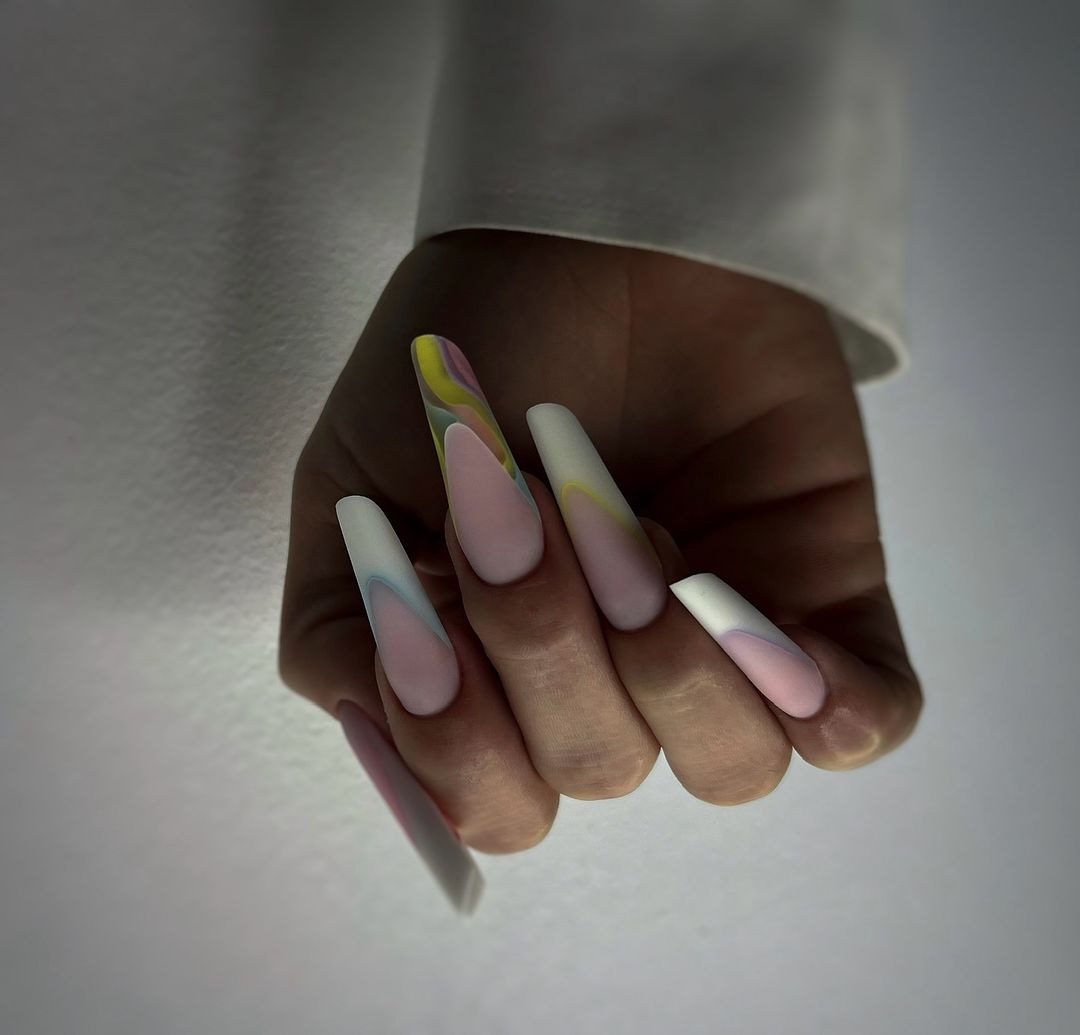
- Gel polish that is pale pink and white
- Yellow gel paint as accents
- Swirling detail brush
- Finish up with shiny top coat
To create this effect start with a base coat in soft pink; after that, gently blend in some white and yellow while they’re still wet to make fine lines. Finally add some glossy top coat for added shine and protection.
Chrome Elegance with Sparkling Detail
This manicure makes the grey cool, calm and collected with crystal embellishments. The result is a modern, edgy look that is perfect for those summer nights out.
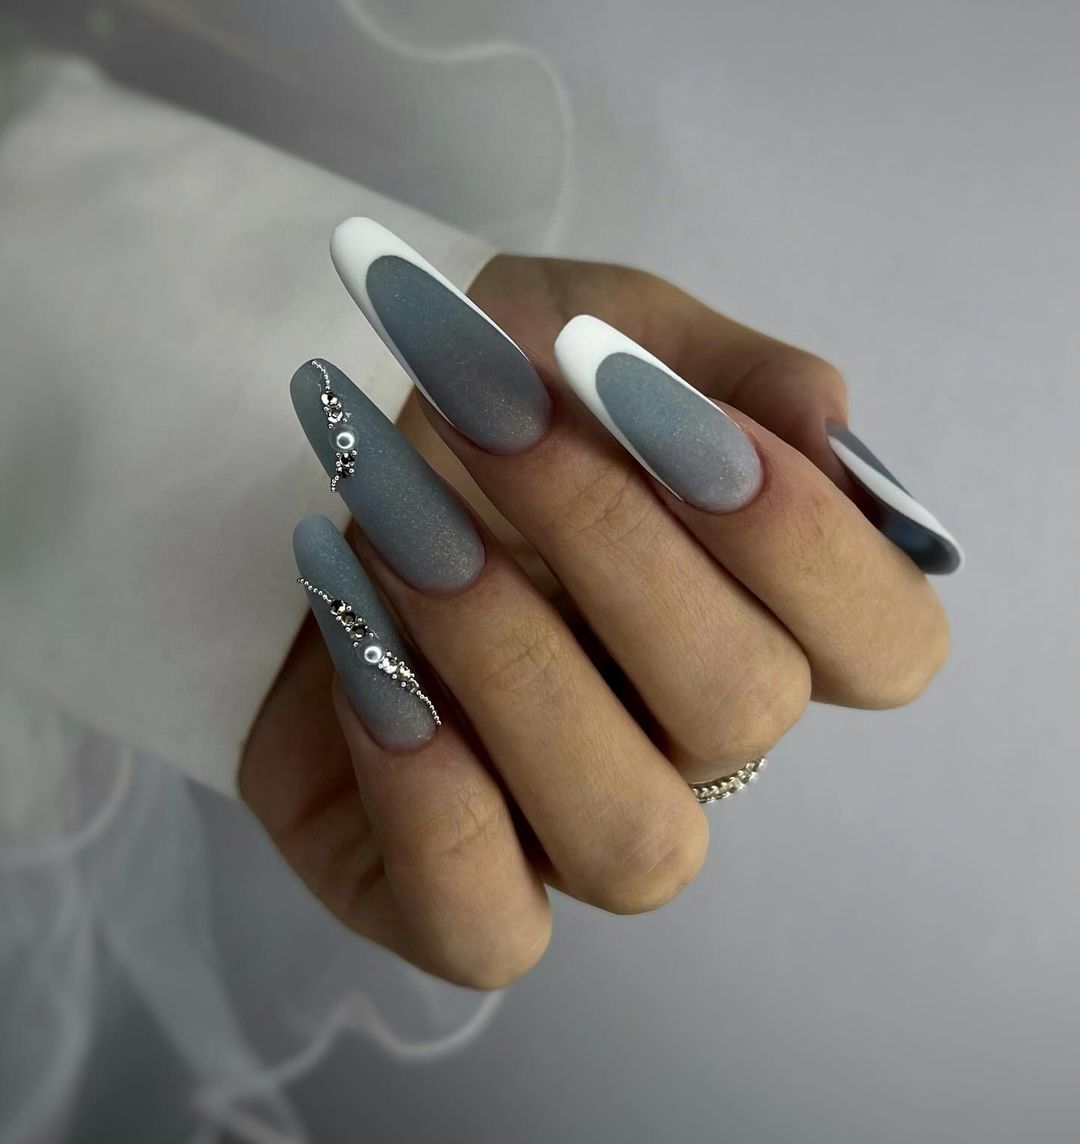
- Grey chrome polish
- Clear crystals of various sizes
- Strong-hold nail glue
- Matte top coat for contrast
Put on the chrome polish evenly and use just a little bit of glue to set each crystal along the curve of the nail. Additionally, applying a matte top coat will make it look more sophisticated and allow the crystals to shine.
Zebra Stripes with a Modern Twist
Zebra stripes in black and white is a bold fashion statement. This nail art is for those who are not afraid to stand out and make a statement with their hands.
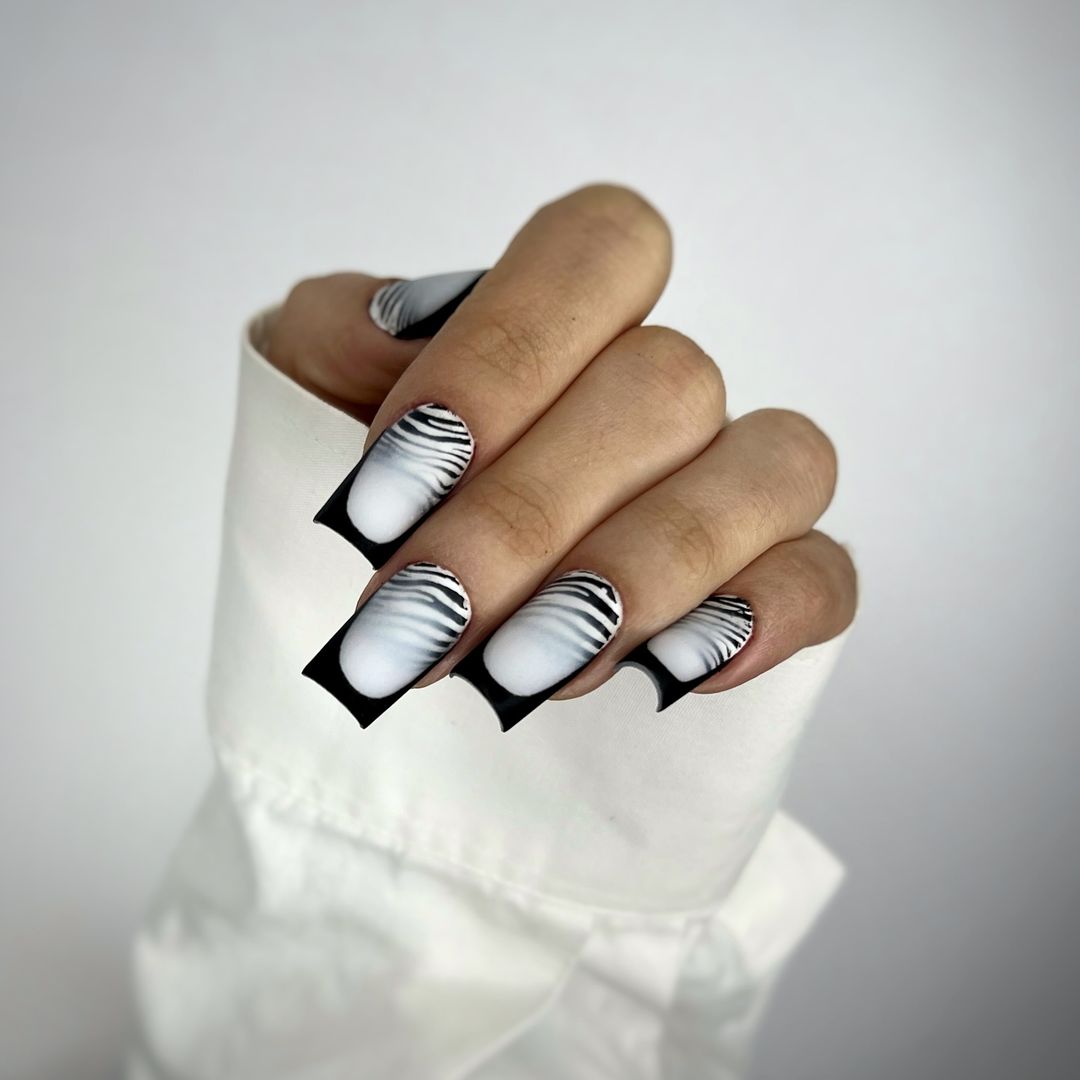
- White polish as a base
- Black striping polish or small brush for accents
- Glossy or matte top coat (depending on taste)
Start with a white undercoat and after it has dried, paint on zebra stripes. The idea is to have slightly curved lines that are different widths to achieve the untamed look of real zebras. Whether you go for a matte or glossy finish, these nails will get people talking.
Splattered Ink Sophistication
Think of a fabric that is the perfect combination of lovely and daubed ink. This is made for the people who will embrace the imperfect perfection, seeing beauty in random ink blotches on a light colored background.
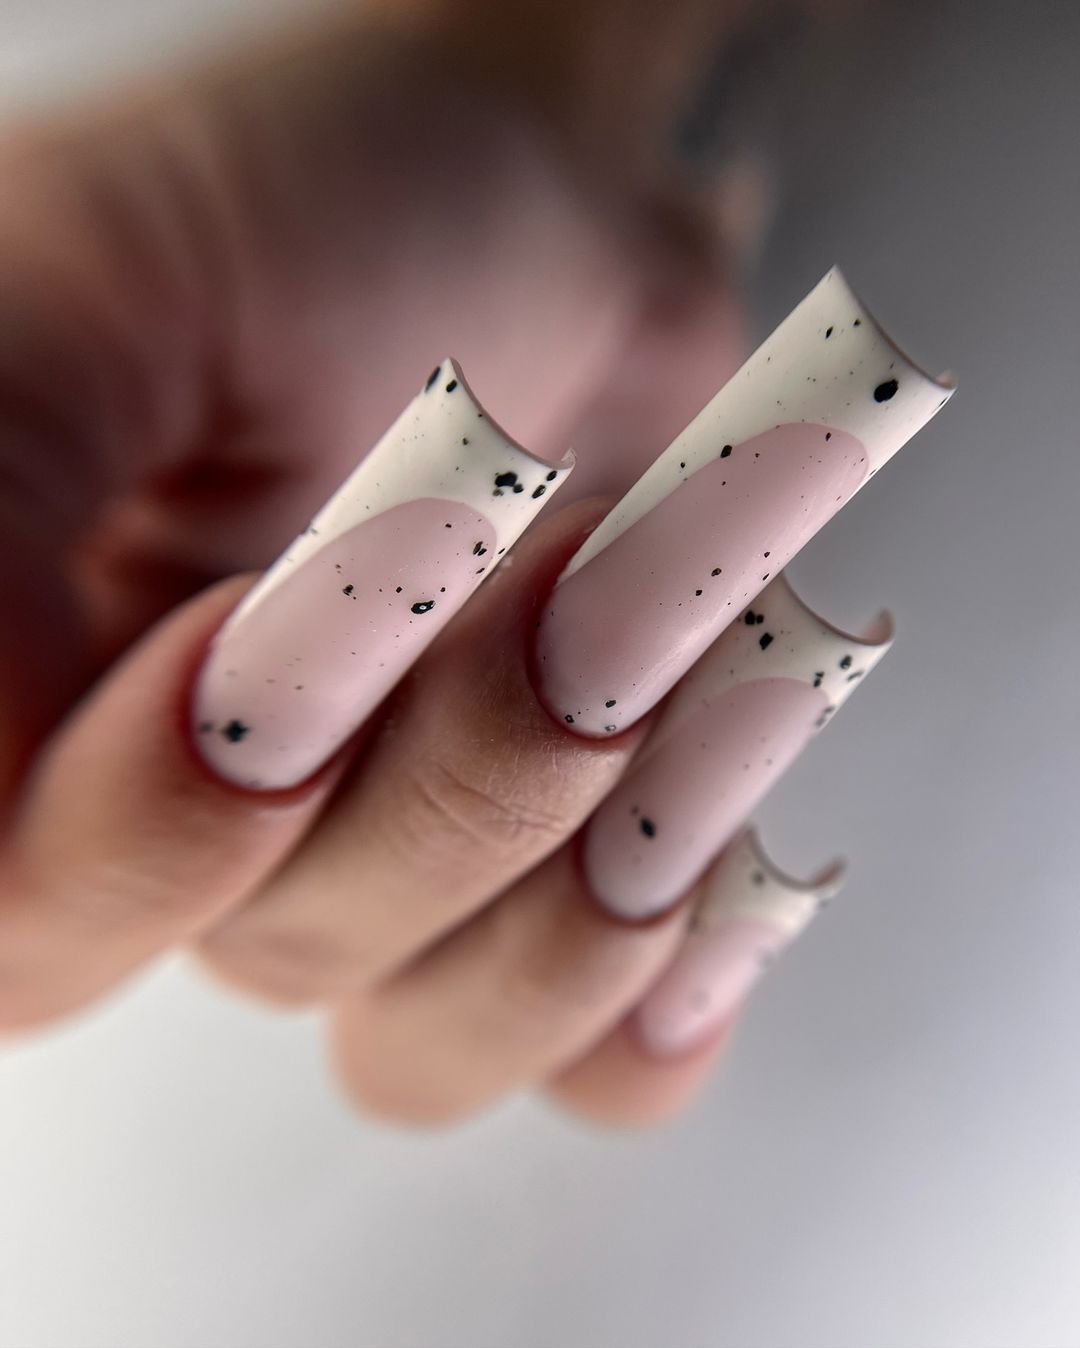
- Pale pink base coat
- Splatter effect with black nail polish
- Stiff brush or straw as splattering tools
- To have a glossy finish, top coating becomes important.
The starting point would be a light tint of rose to give it an innocent look. Dip your stiff bristle brush or straw into black lacquer and fling it onto your nails, creating that disordered yet meaningful spraying. Each nail is like an abstract painting in itself – a small piece of art. The transparent cover will keep your impromptu design intact.
Pink Bloom Elegance
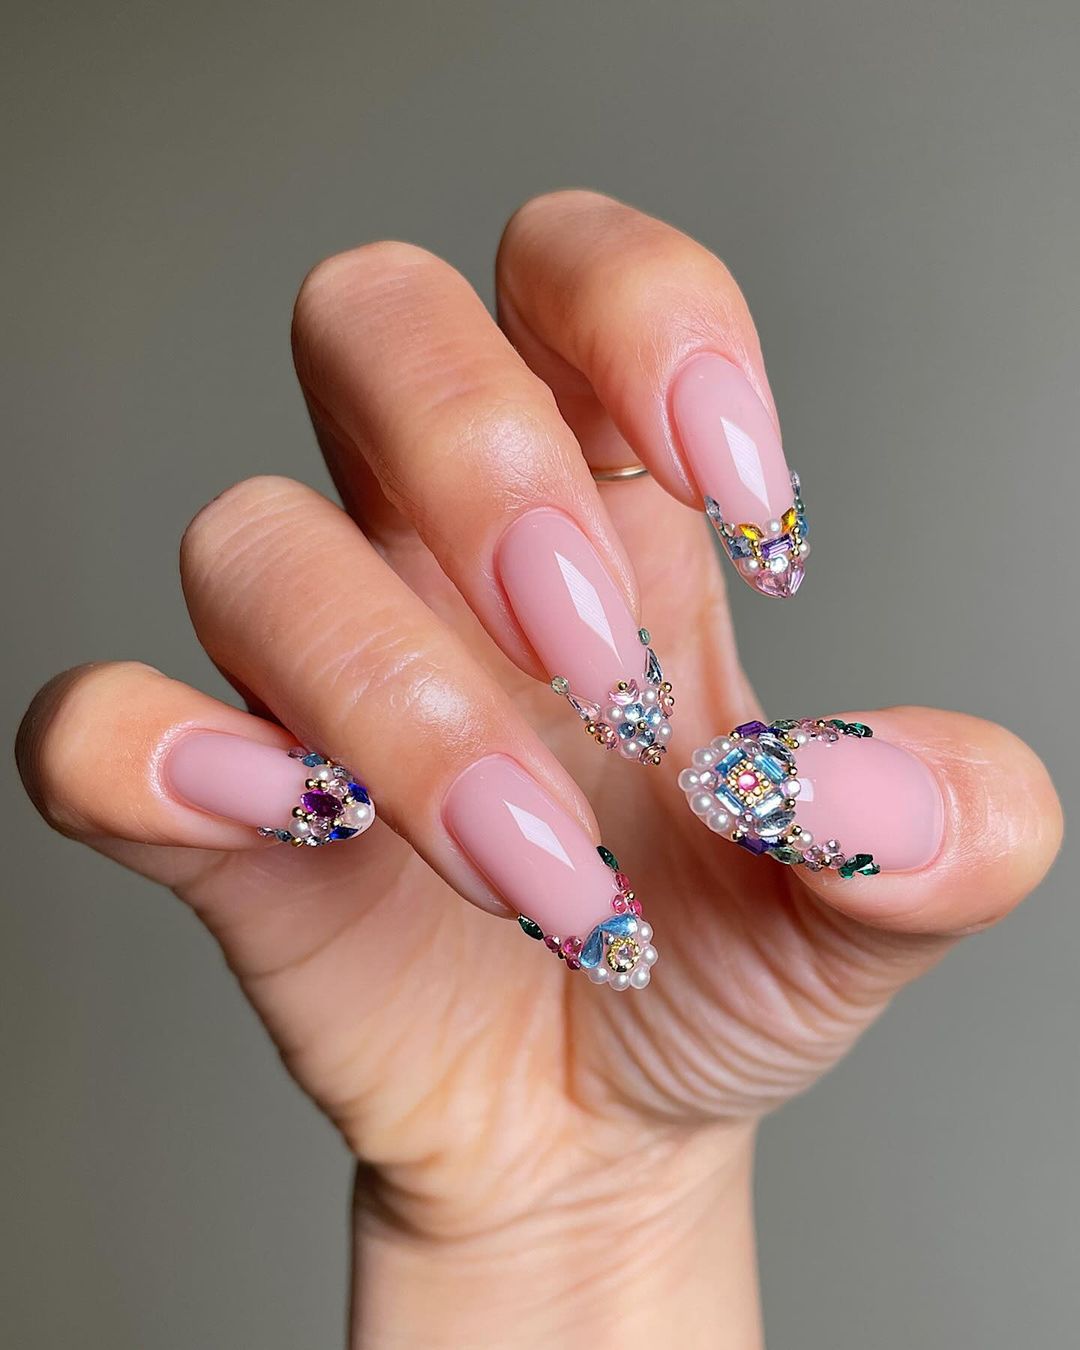
Bursts of pink blooms plus shiny crystals form a manicure that looks so glamorous, and also down to earth nature. It is a tribute to womanhood and the blossoming of spring in full swing that one can wear all throughout summer.
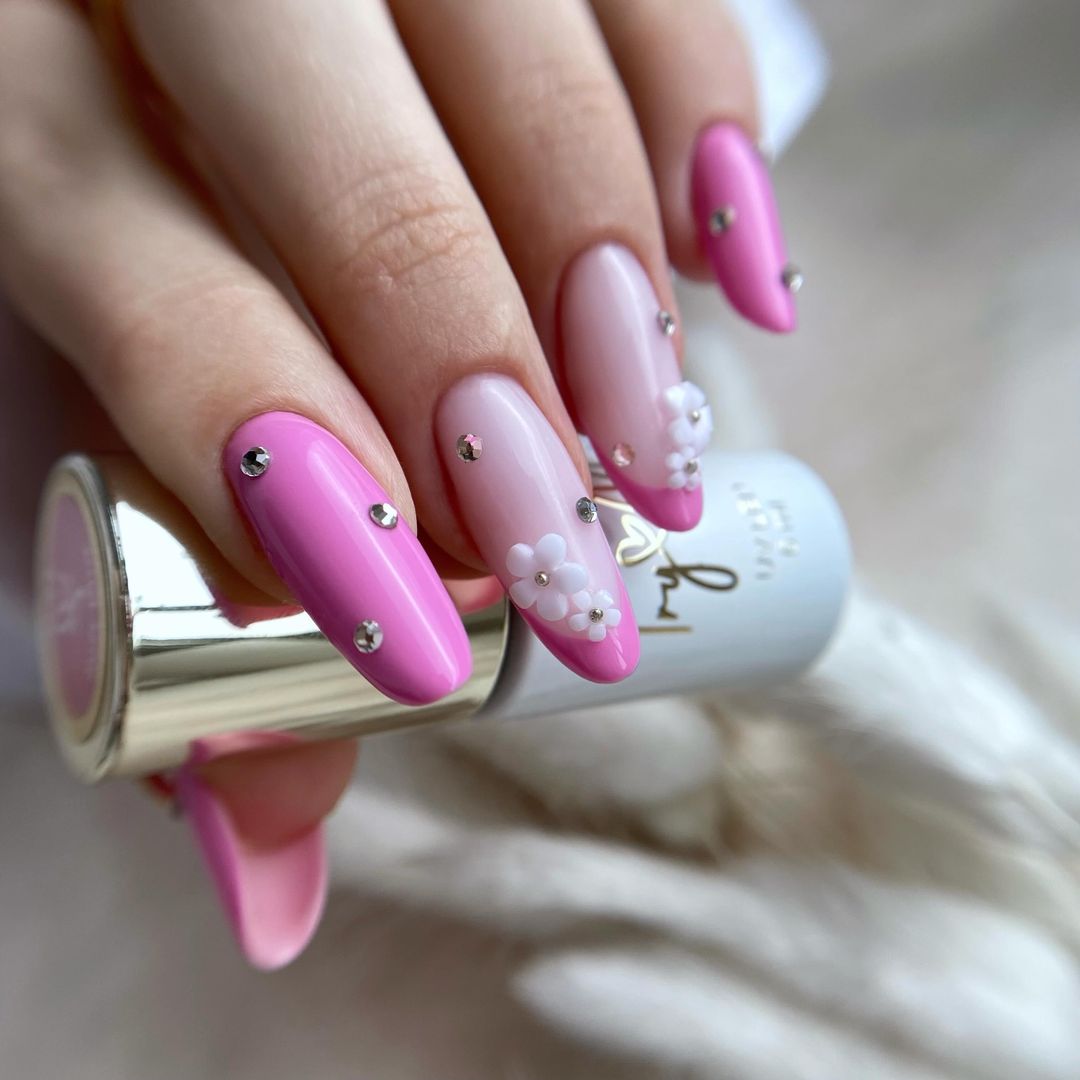
- Pink base
- Bright pink for flowery highlights
- Petal details in white polish
- Sparkle with rhinestones
- Embellishments are secured with nail adhesive.
- It has a glossy top coat for a long-lasting finish.
Create vibrant pink blooms on top of it using your soft pink base. Add dimension to each petal by highlighting them with white and put a rhinestone at the middle of each flower for some extra shimmering.
Dynamic Blue Flames on a French Tip
This nail design is perfect for this summer if someone wants to make their nails more dramatic, and it has a lot of blue cool colors in it which are counterbalanced by the warmth from the flame at the end.
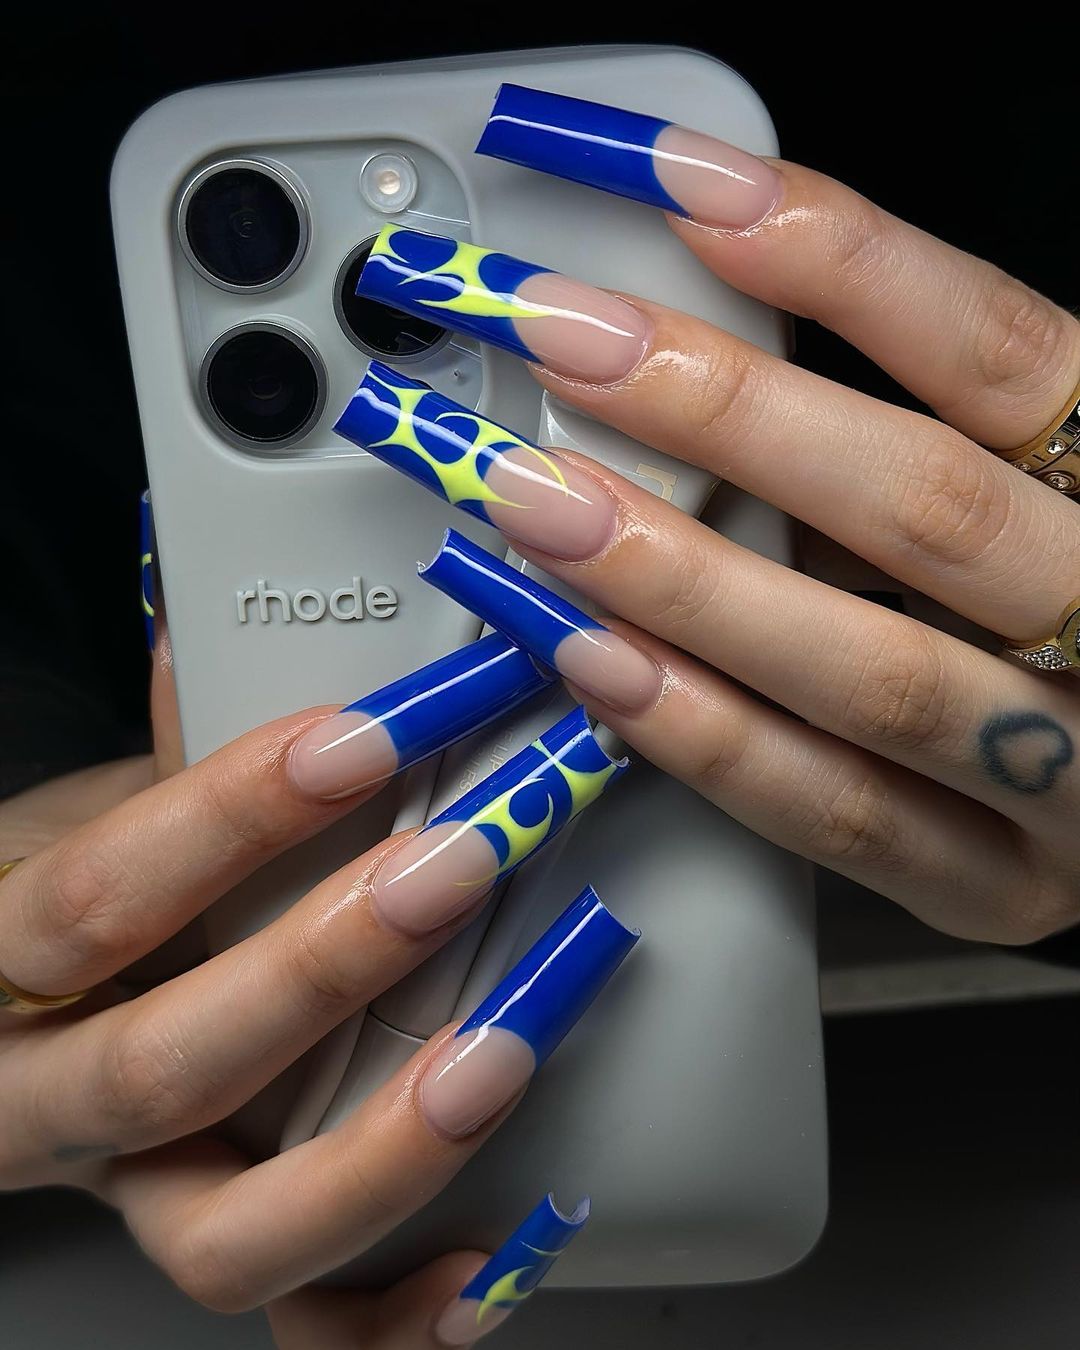
- Sheer pink or nude polish for the base
- Bright blue and yellow polish for the flame design
- Thin brush for detailed line work
- Top coat for a glossy, protective finish
Start with a blank canvas that’s been dried completely. Using a small paintbrush, draw out the flames from the tip down to give them an upwards slant. Add some yellow marks to make the flames look realistic. Finish off this sizzling design by applying a top coat over your nails so that they become a point of discussion everywhere you go during summer festivities.
Sunset Ombré Illusion
This mesmerizing ombré illusion embraces the full spectrum of a sunset. It is a symphony of colors that reflect the serene transition of hues in the evening sky, perfect for those warm, breezy nights.
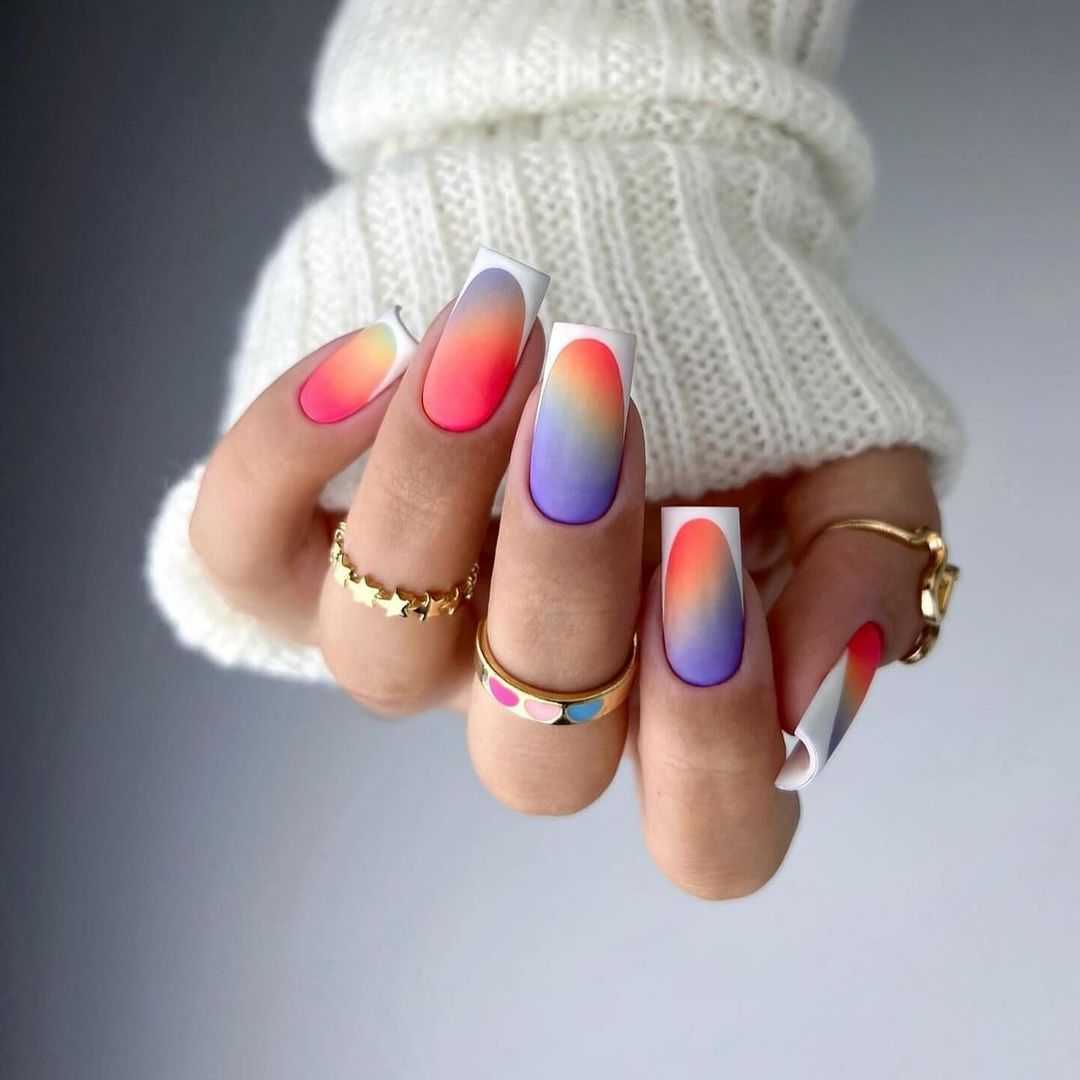
- Gel polishes ranging from warm pink, to vibrant orange, to soft lavender
- A make-up sponge to create the ombre effect
- White polish to make colours pop
- Top coat for smooth finish
So you should begin with a white base, so that when the colors really do come out. Next on a make-up sponge side by side layer it with sunset polishes and dab onto your nail blending as you go along creating gradient. Finish off with top coat towards safeguarding and making your own personal section of that night sky smooth.
Red Stiletto with a Single Stone
This is a simple but daring design, which really exudes confidence due to the sharp stiletto shape and traditional red color. Each nail has just one stone for the focal point, a touch of luxury that speaks elegance with a wicked twist.
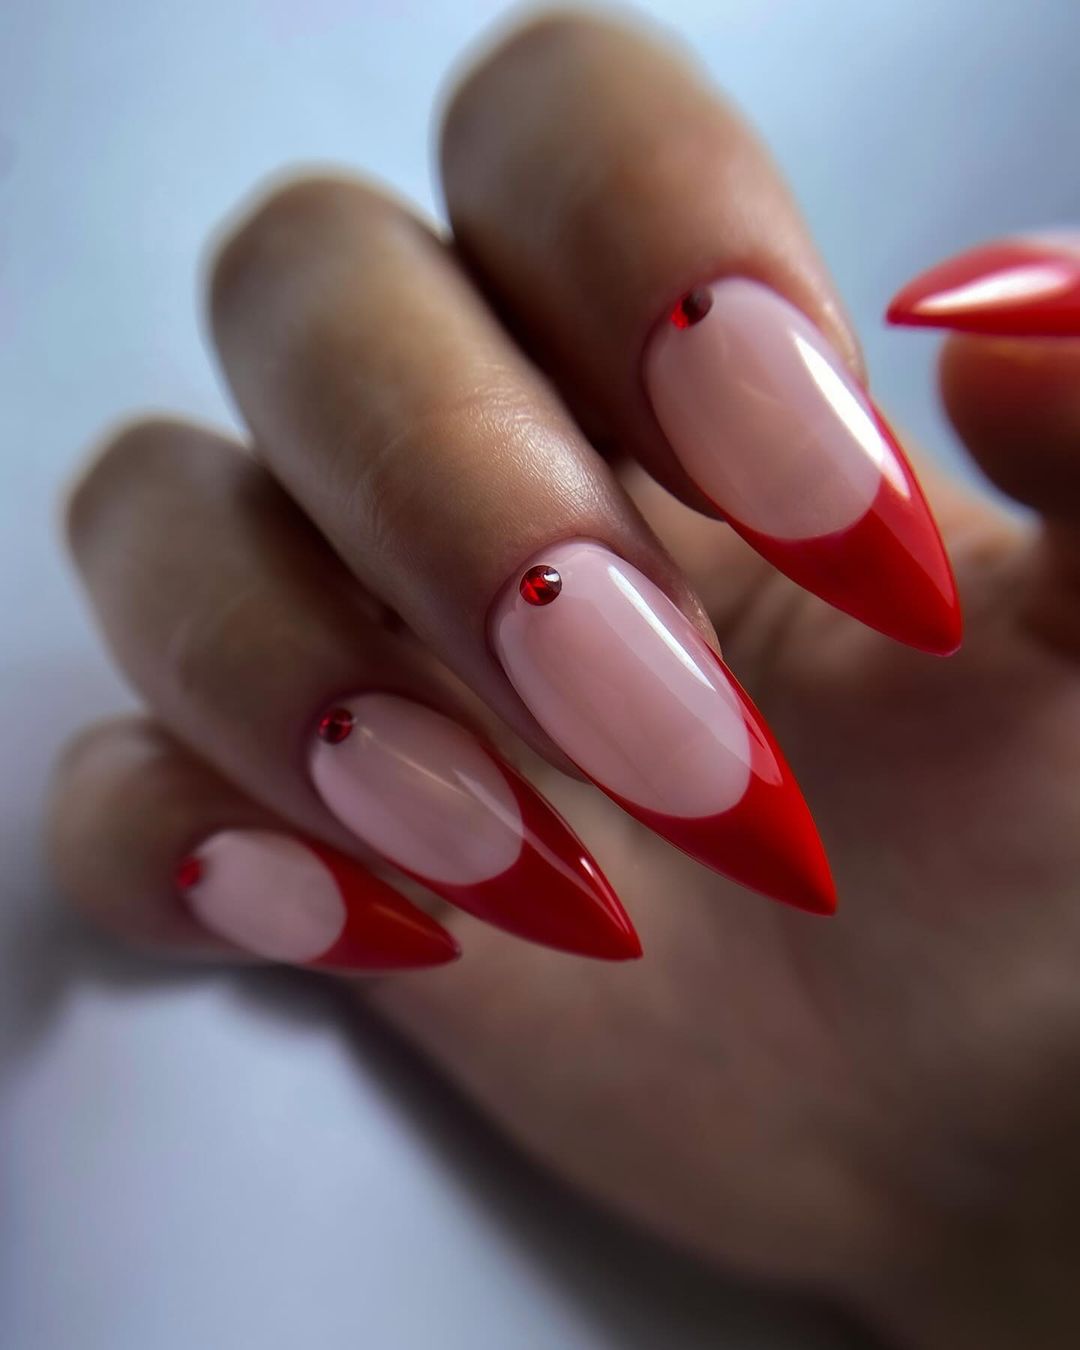
- Clear or nude polish used as base
- Bright red polish used on tips
- Red rhinestone to suit tip shade
- Stone adhesive as glue
- Glossy topcoat for longevity
Paint your nails nude before adding French tip in sweeping motion using the red polish. Just put one rhinestone either close to the cuticle or at the end of each nail with some glue. Finally, add a final coat of gloss over your stiletto nails giving them a luxurious finish befitting any occasion where you want to captivate people.
Cosmic Blue Elegance
To plunge into the depths of space with these nails, you might try putting on some polish having a blue explosion of glitter that brings to mind the aesthetic charm of a starry night. This design is a blend of sophistication and enigma, which makes it perfect for any night where you want your nails to be the sparkling highlight.
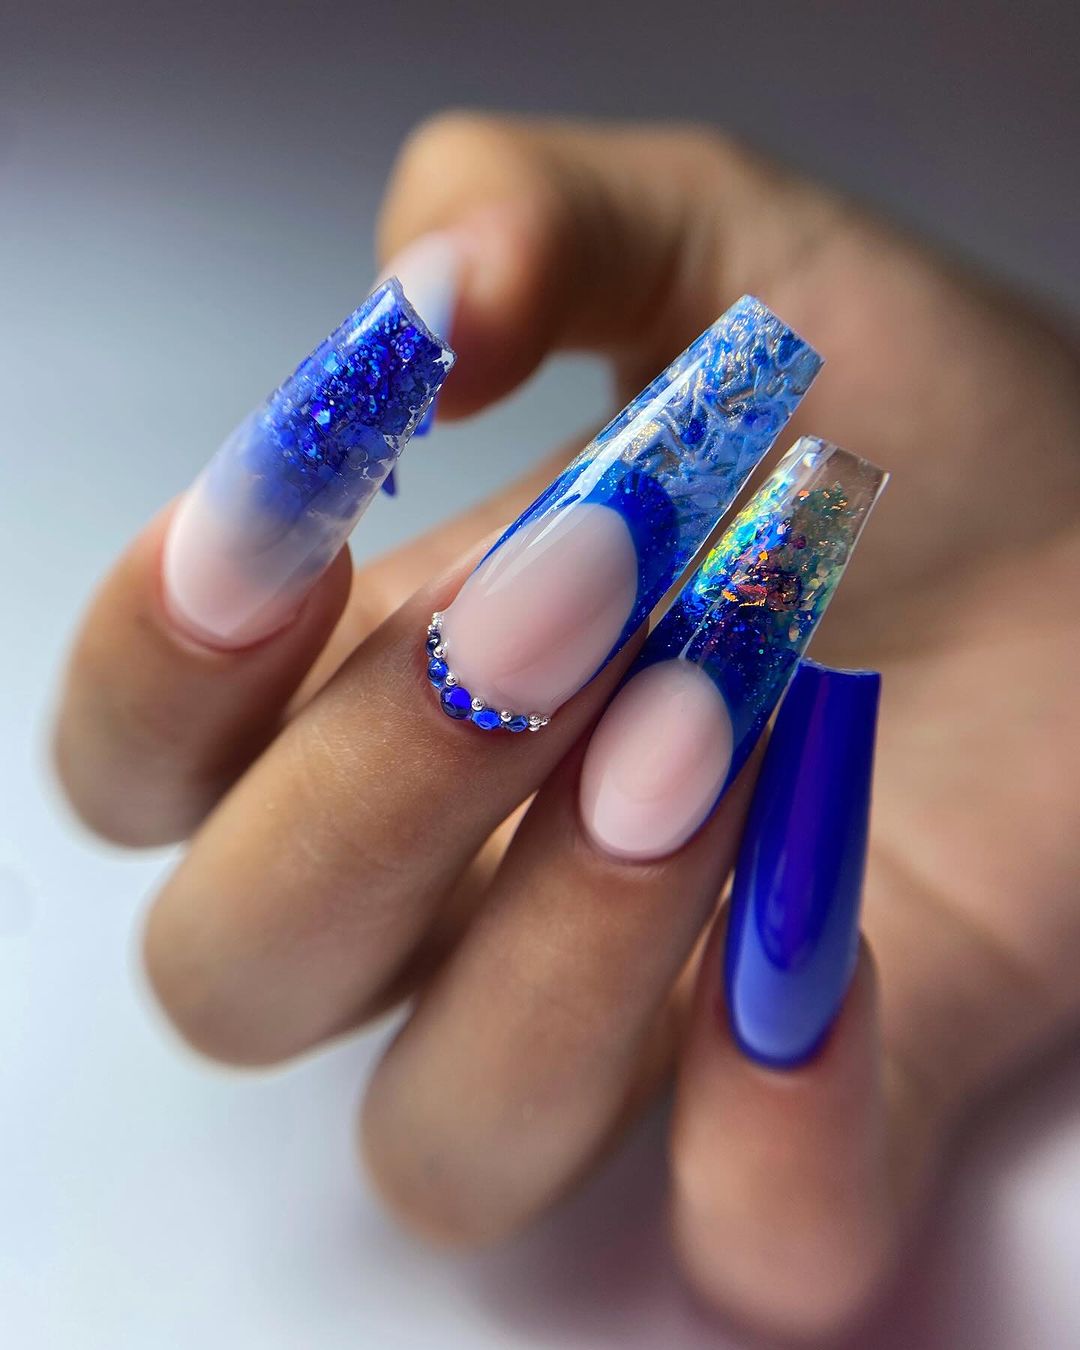
- Sheer nude or soft white gel polish as base
- Different shades of blue glitter polish for adding texture
- Chunky holographic glitter for added depth
- Fine brush tip for accurate glitter placement
- Glossy top coat for galactic finishing touch
Start by applying a neutral base coat to your canvas. Then layer different blues glitters in order to recreate textured look which will remind one vastness of space. With use of fine-tip brush, place larger pieces strategically on nails creating three-dimensional starry effect. Finally glossy top coat can be applied so that sparkle is sealed and nails are ready for interstellar adventures.
Magenta Magic
These nails, in their bright and vivid colors, are a remarkable representation of summer’s vibrant energy. They combine elegance and tastefulness with elements of playfulness through delicate flowered patterns and crystals.
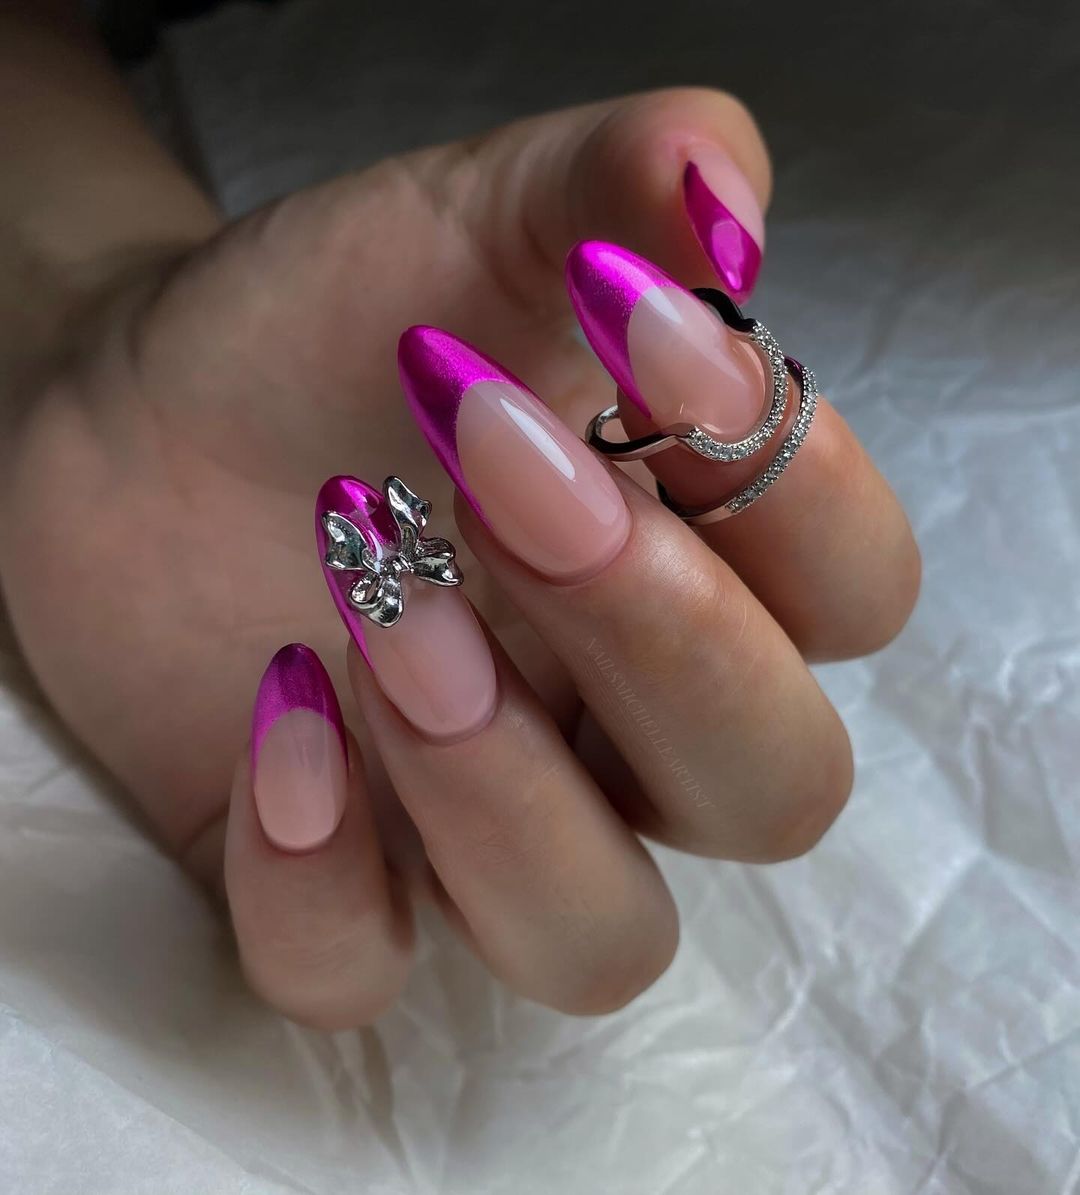
- Undercoat: Light Pink Gel Polish
- Nail Tips: Bright Magenta Gel Polish
- Flower Accents: White Gel Polish
- Embellishments: Small Crystals and Nail Glue
- Finish Coat: Glossy Top Coat
Apply the pale pink layer on your nails as a background color, then decorate it with a bold magenta tip. Using a thin brush, draw small white flowers at the base of each nail. Place one crystal inside each flower for an elegant touch. Finally, apply a glossy top coat to make sure that your nails always have the final word.
Azure Dreams
The golden sun meets the dreamy blue sky in this nail design to create an effect of a peaceful morning. The soft gold highlights and gives classiness to the calm and versatile, ideal for use during day or night events.
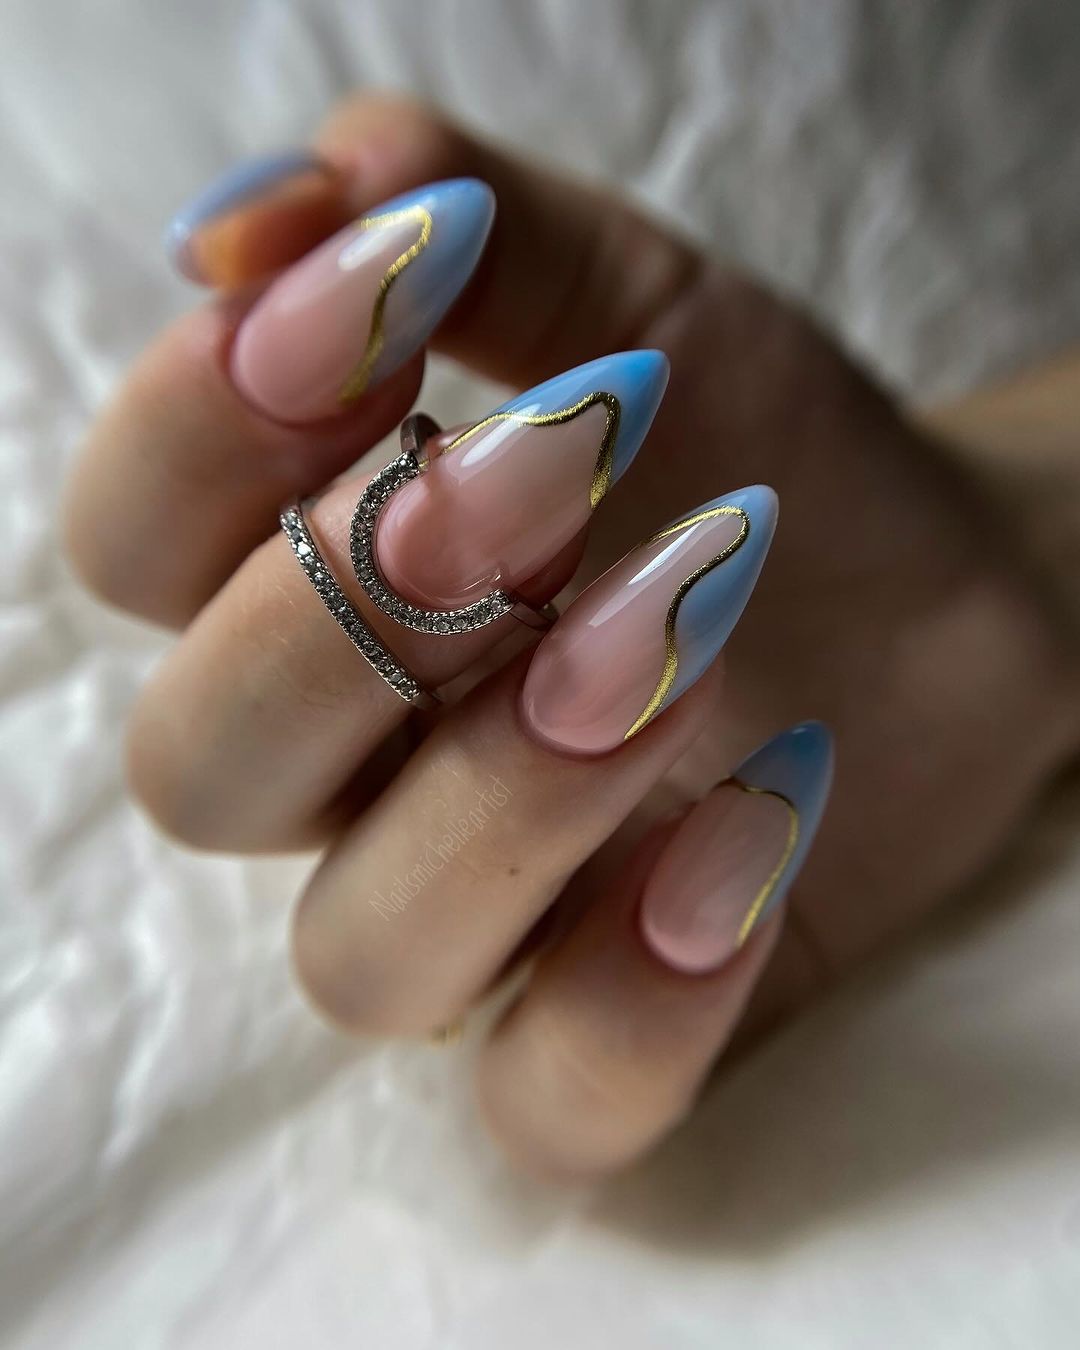
- Light pink or pale nude is preferred for the base
- Extra light blue gel polish for the tips
- Gold metal lacquer for thin line detailing
- A thin brush will be used for gold accents
- Finalize with glossy topcoat or matte one according to personal preference
Begin with a barely noticeable base to give your nails an original look. Apply gentle sky-blue color on the edges and when dry, use little brush to add gold stripe on each edge. Go with either shiny or dull topcoat of choice because this concept surely brings out a beautiful serene horizon.
Sheer Pink with Metallic Accents
These nails are perfect examples of modern beauty that marries the gentleness of a soft pink and an edge from metallic highlights. It is a stylish yet simple view suitable for making any dress look glamorous.
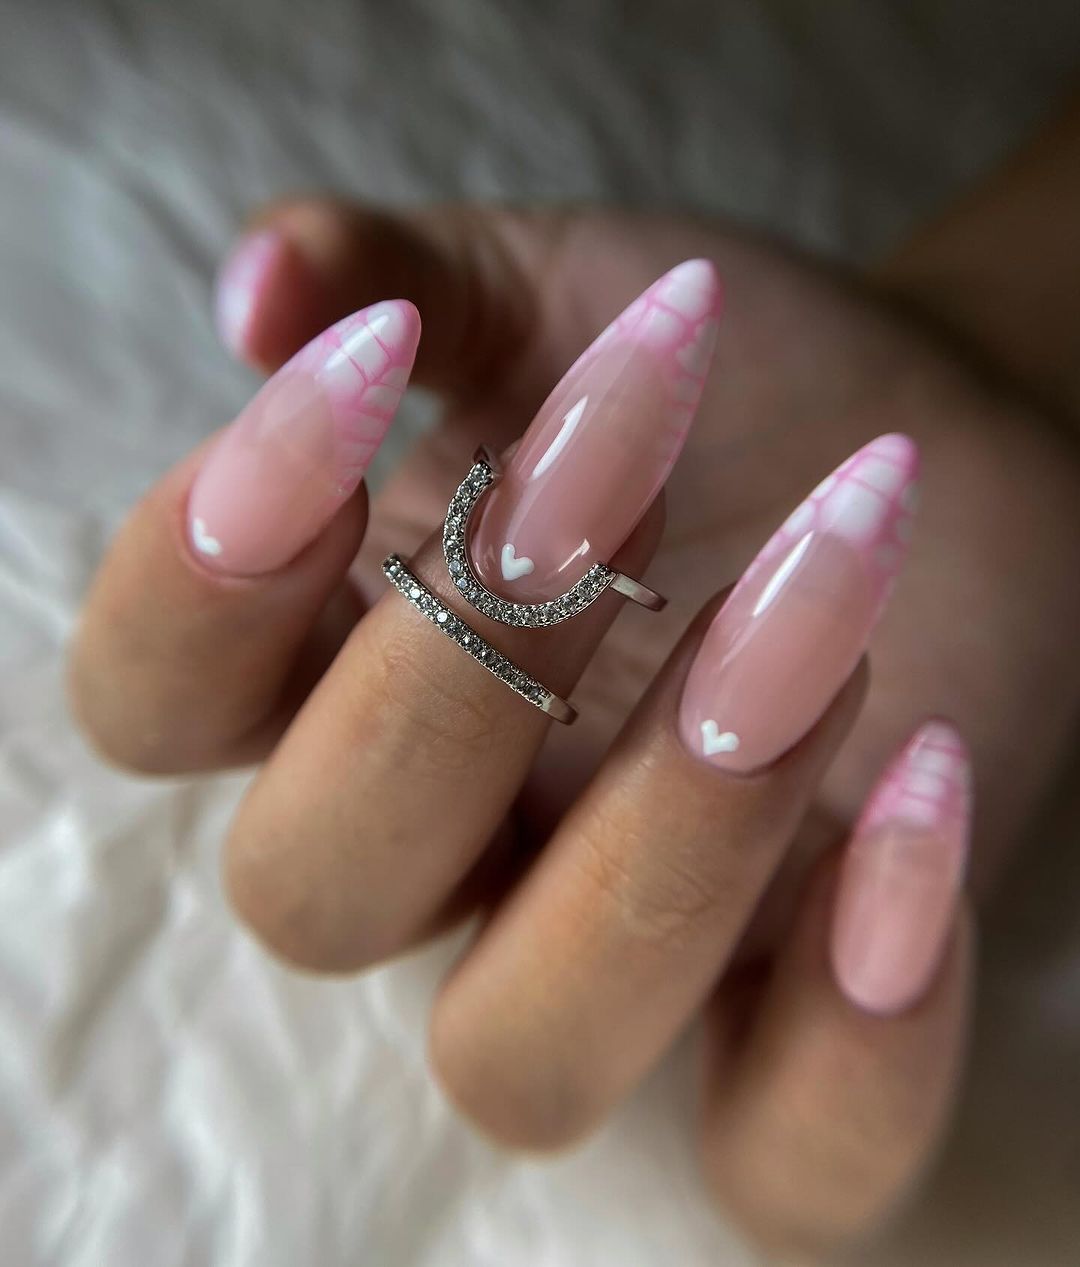
- To get such a clean and glossy base, just go for sheer pink polish
- For those clean, sharp lines opt for silver or gold metallic striping tape
- Extra decoration can be added using tiny rhinestones or metal studs
- Finally, to keep everything in place use strong-hold top coat
After applying your sheer pink base and allowing it to dry, strategically place metallic striping tape at the tips or along the nail bed for a chic, modern french tip or a half-moon design. Add rhinestones or studs for a hint of opulence. Secure the design with a top coat that ensures a long-lasting wear and a high-gloss finish.
Futuristic Silver with Rivets
Take a risk into the future with these statement nails that combine the softness of matte finishes with an industrial touch of rivets. It is an audacious design as well as elegant; and it’s great for keeping up conversations between fashionable techy ladies.
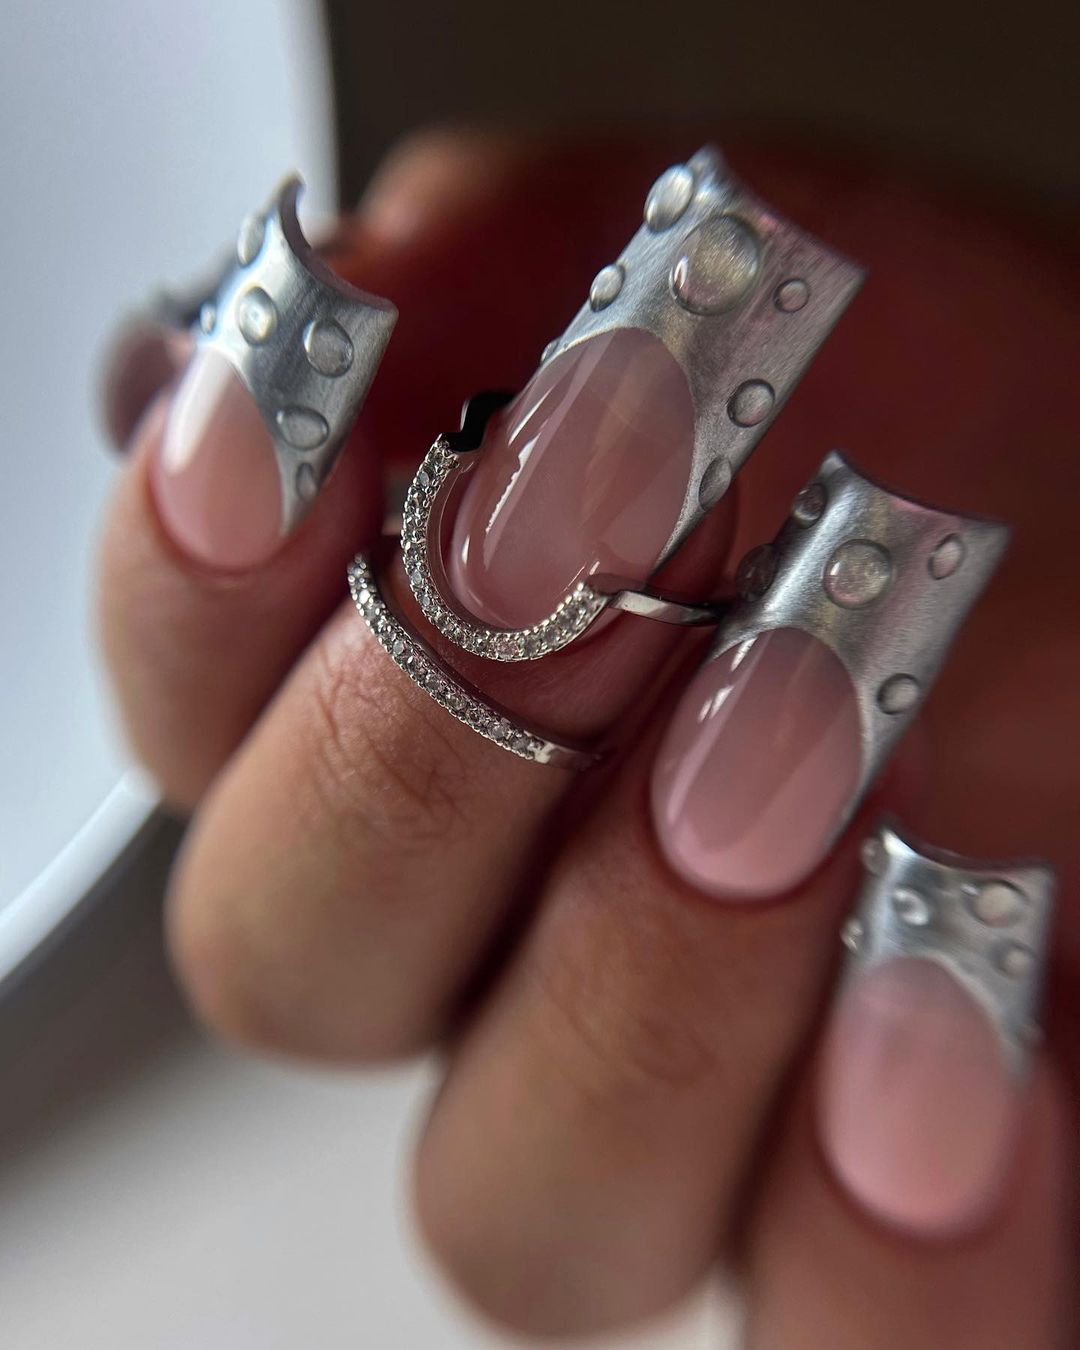
- Matte nude polish base
- Silver chrome polish tips or accents
- Small silver 3D rivets or studs
- Ultra-modern finish– matte top coat
Start off with a matte nude polish as a base color. Use silver chrome polish on the tips, maybe for a futuristic french tip or along one side for an asymmetrical look. As your nail polish dries tacky, choose specific parts to place rivets or studs that will make you feel them when you touch your fingertips. To compliment this vanguard appearance, apply a matte top coat.
Silver Lining Fantasy
This design resembles a moonlit cloud, with a pale pink base and remarkable metallic silver highlights. It softly combines gentle femininity with bolder futuristic vibes.
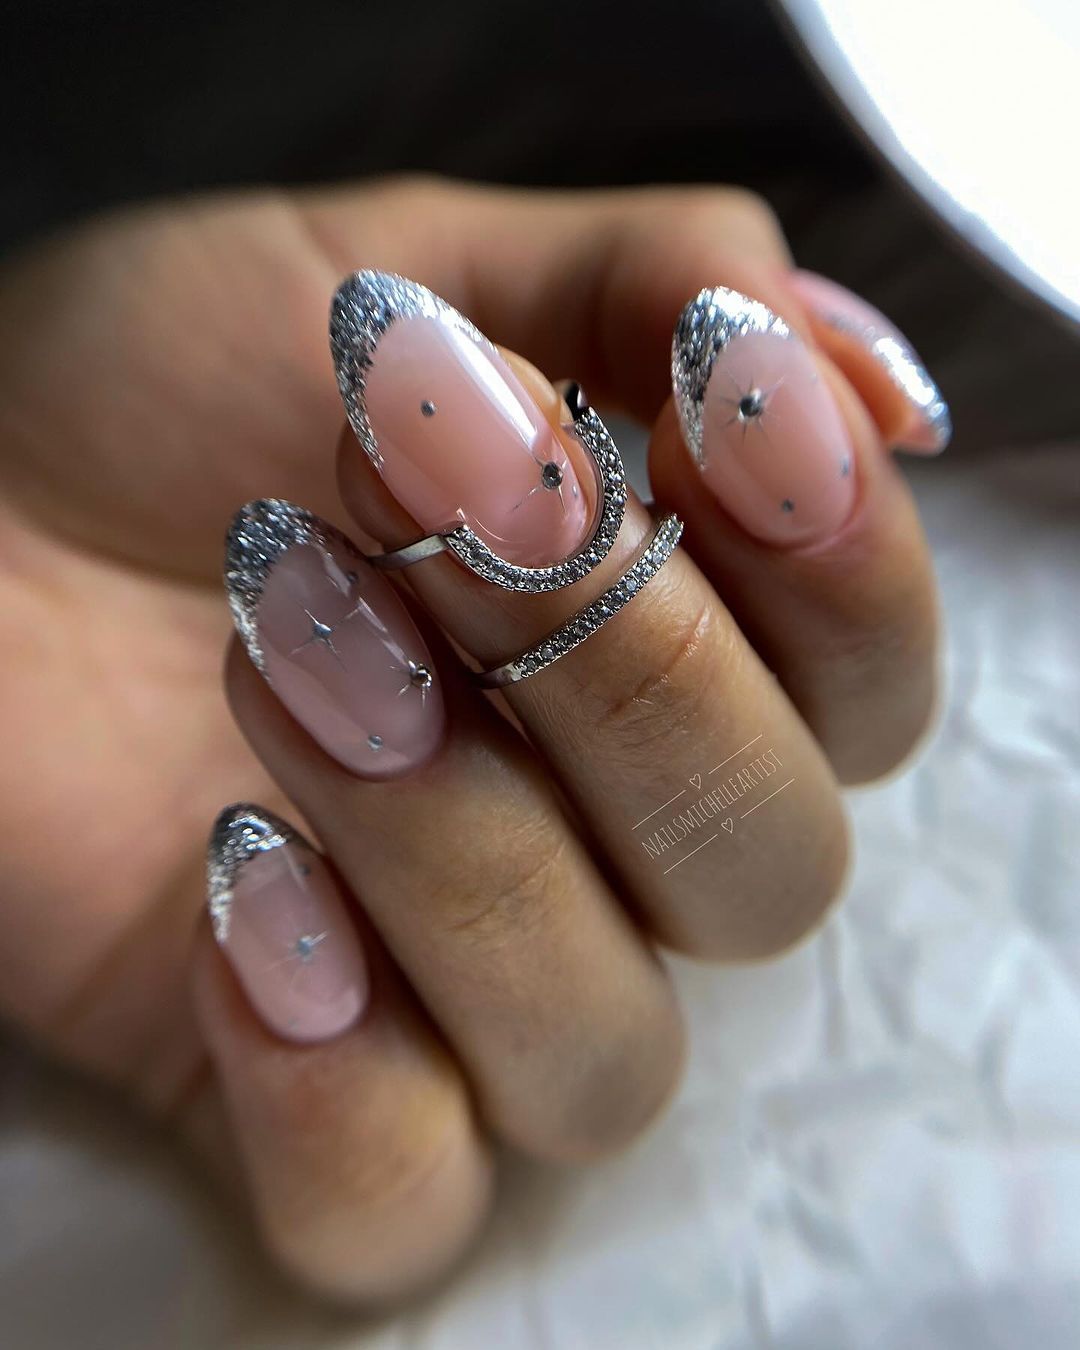
- Delicate baby pink gel polish
- Particulars done by using the metal polish that is shiny and silvery
- Dotted tool or tiny brush for accuracy
- Silver studs and nail adhesive used for decoration
- High-gloss top coat for ultimate shine
Once your pink base has dried, take a dotting tool or a fine brush and create some metallic silver lines along the edges or all over the nail either side to make geometric patterns. Use nail glue to attach those silver studs along these lines to give them more dimensions. As a result you get an elegant dreamy mani which can steal attention and add modern twist to every outfit.
Contemporary French with a Pop of Pink
This is a playful version of the original idea of French tip nail art by adding an electric pink to keep it current.
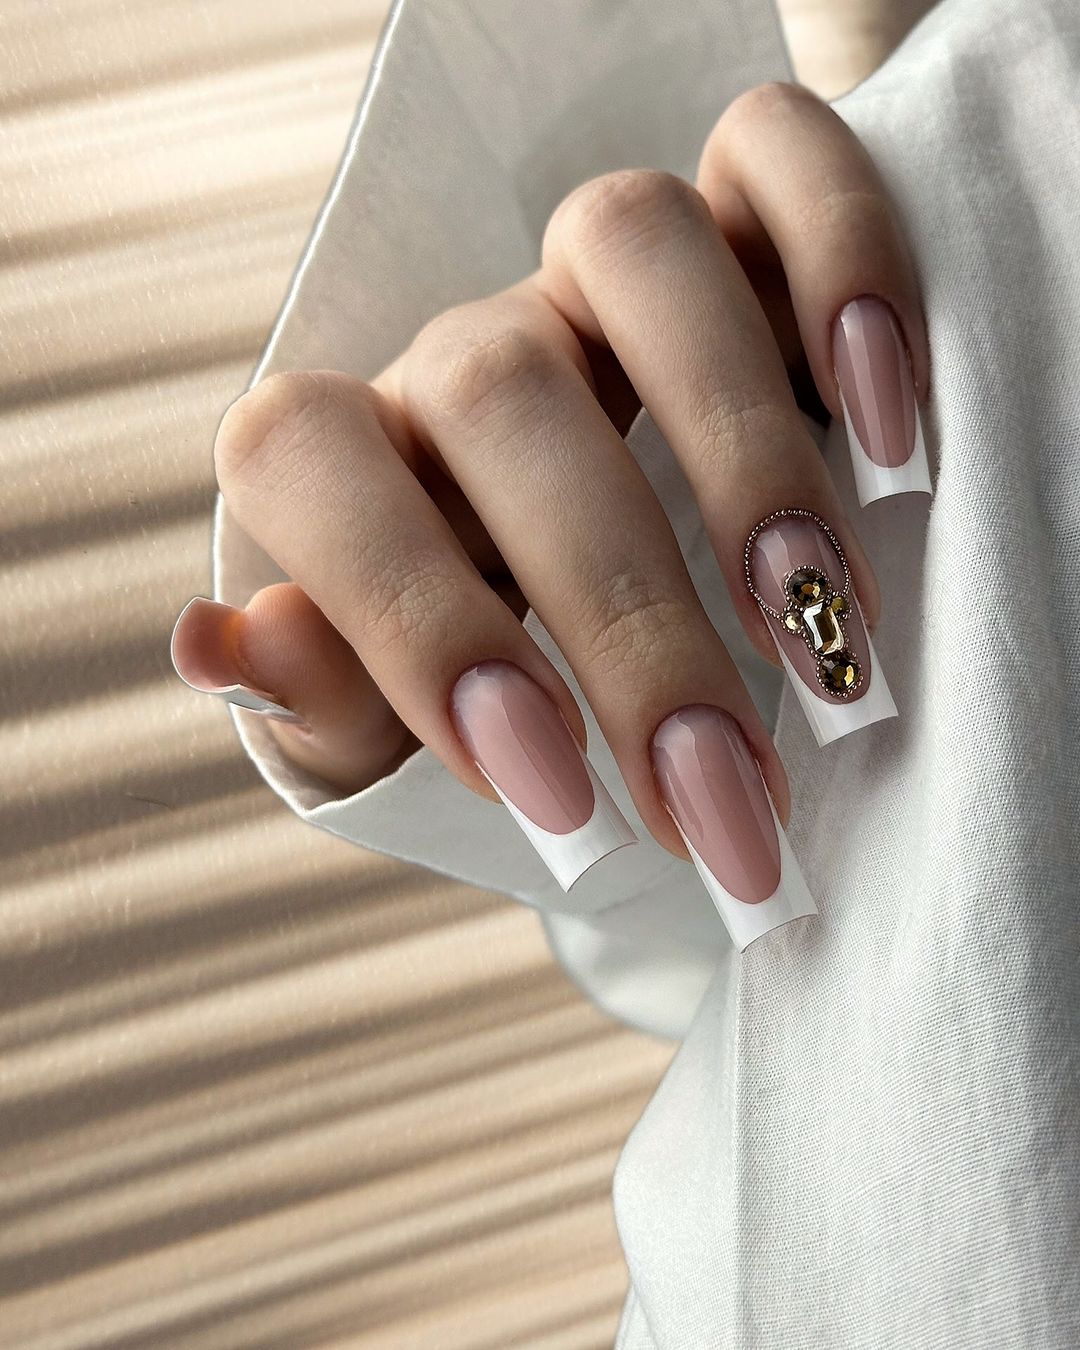
- Sheer pink or nude gel polish for the base
- Vibrant pink polish for the tips
- A fine brush for sharp tip lines
- A glossy top coat to lock in the color
You may begin with applying a sheer coat on your nails so as to make them appear more natural. Then fill up your tips through using that bright pink paint and a thin line brush just to bring out that curve. Finally, apply a layer of clear lacquer which will not only protect your varnish from chipping but also give it a shiny finish.
Subtle Elegance with Gold Trim
In this design, the soft touch of dawn is channelled through the use of a pastel palette complimented with thin gold trim which adds opulence to the simple color scheme.
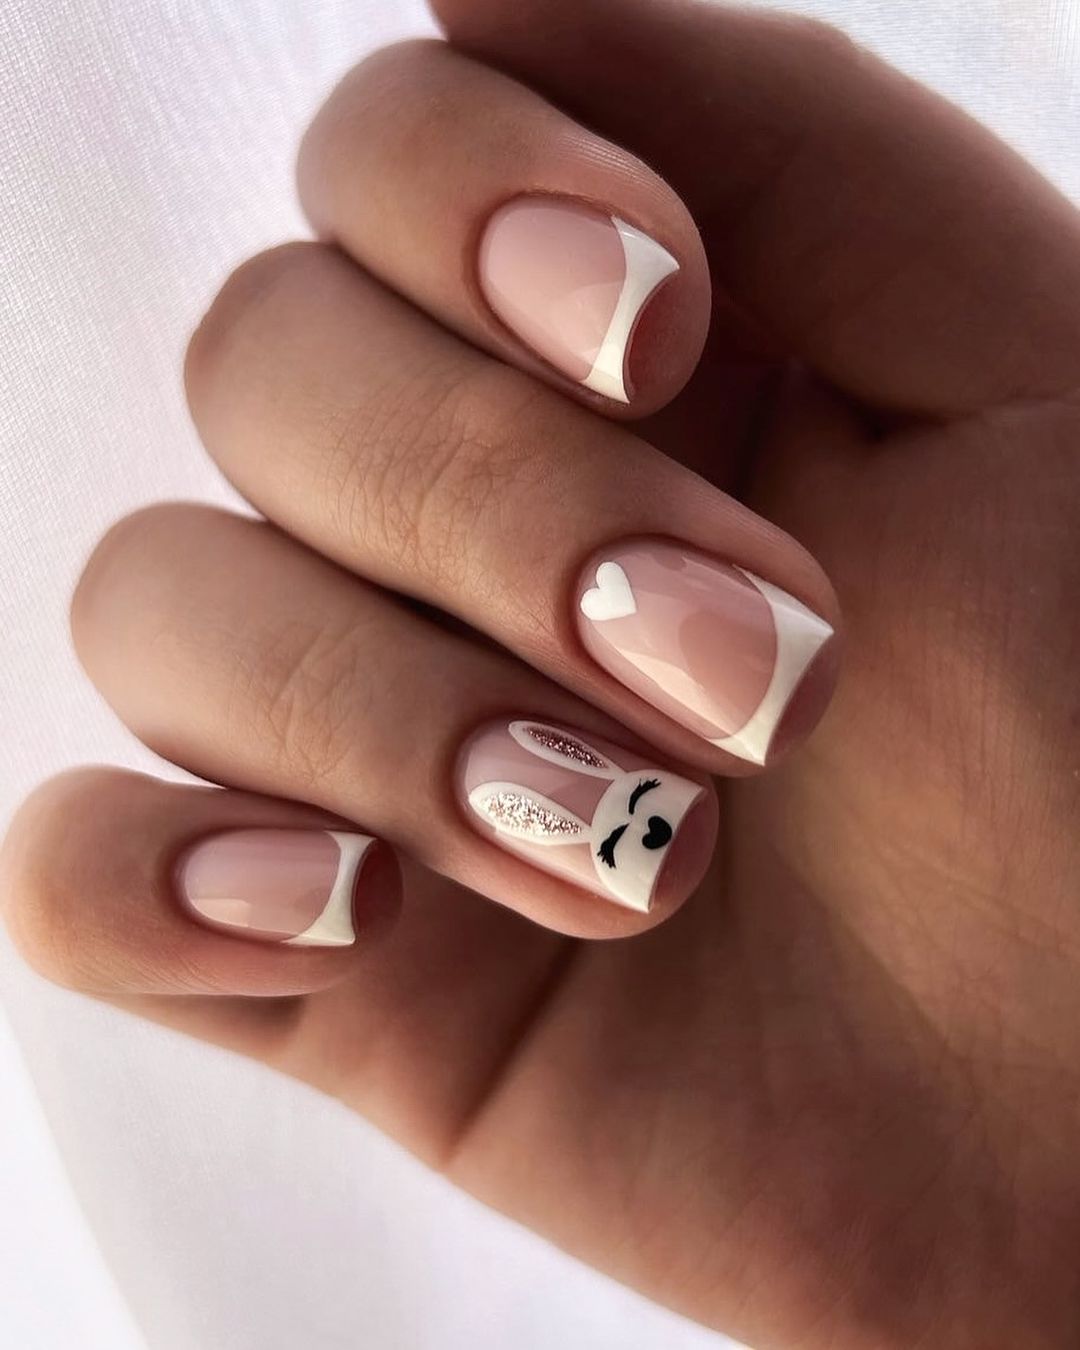
- This section features a pale pink or nude polish that will create a soft, natural base for your nail art.
- There are several different gels available in sky blue. If you decide to use any one, it shall make a subtle contrast.
- Finally, finish by applying a coat of glossy topcoat and then leave it dry over night to achieve an elegant look that lasts long.
But then comes the first coat that is applied; the second coats can be done by applying another polish at the tip or half-moon of your nails on their base like sky blue. When it starts drying up apply either thin line gold taping or rub metal lacquer gently using slim brush at its edges to have a fashionably golden one. For an overall stylish appearance seal with top coat for glossy finish.
FAQ
Q: Can I get these designs with my normal nail polish instead of gel?
A: Sure, you can do so using your regular nail polish. However, bear in mind that gel polish tends to last for a longer time and chip less frequently compared with the ordinary one.
Q: How do I stop my nail art from smudging when I apply the top coat?
A: To avoid smearing your nail art make sure each layer has completely dried before you apply the final clear coat. Use brush strokes and do not repeat stroke over same area.
Q: Are short nails suitable for these designs?
A: Absolutely yes! While some of them might look different on shorter nails, it is possible to tailor them in accordance with one’s nail length. The trick lies in sizing up design elements to be harmonized with the dimensions of a given finger-nail.
Q: What is the procedure for sticking crystals on so that they will stay on longer?
A: The crystal should be held flat against the back of the fingernail and firmly pressed down onto it after applying a tiny amount of nail glue onto it. To protect them better, one can also enhance a topcoat around their edge too.
Q: How can I remove gel polish at home properly?
A: For removing gel polish, gently file off the surface shine of topcoat, soak cotton balls in acetone, place them over nails and wrap each fingertip in foil. This way within 10-15 minutes’ time period they come off quite easily.
Q: Can nail art hurt my natural nails?
A: Nail arts themselves cannot damage your nails but wrong applications or removals such as for gels or acrylics do cause damage. Consider proper care tips for healthy nails all through.
Q: Do I need to give my nails a break from polish sometimes?
A: It is advisable to let your nails rest between manicures. Not wearing any polish for a week or two every now and again helps keep the nails in good shape.
Q: Should I get professional brushes for nail art?
A: While you may need to use professional brushes sometimes, not all designs require them. Other times one can make use of household items or even the brushes that come together with the polishes.
Save Pin
