

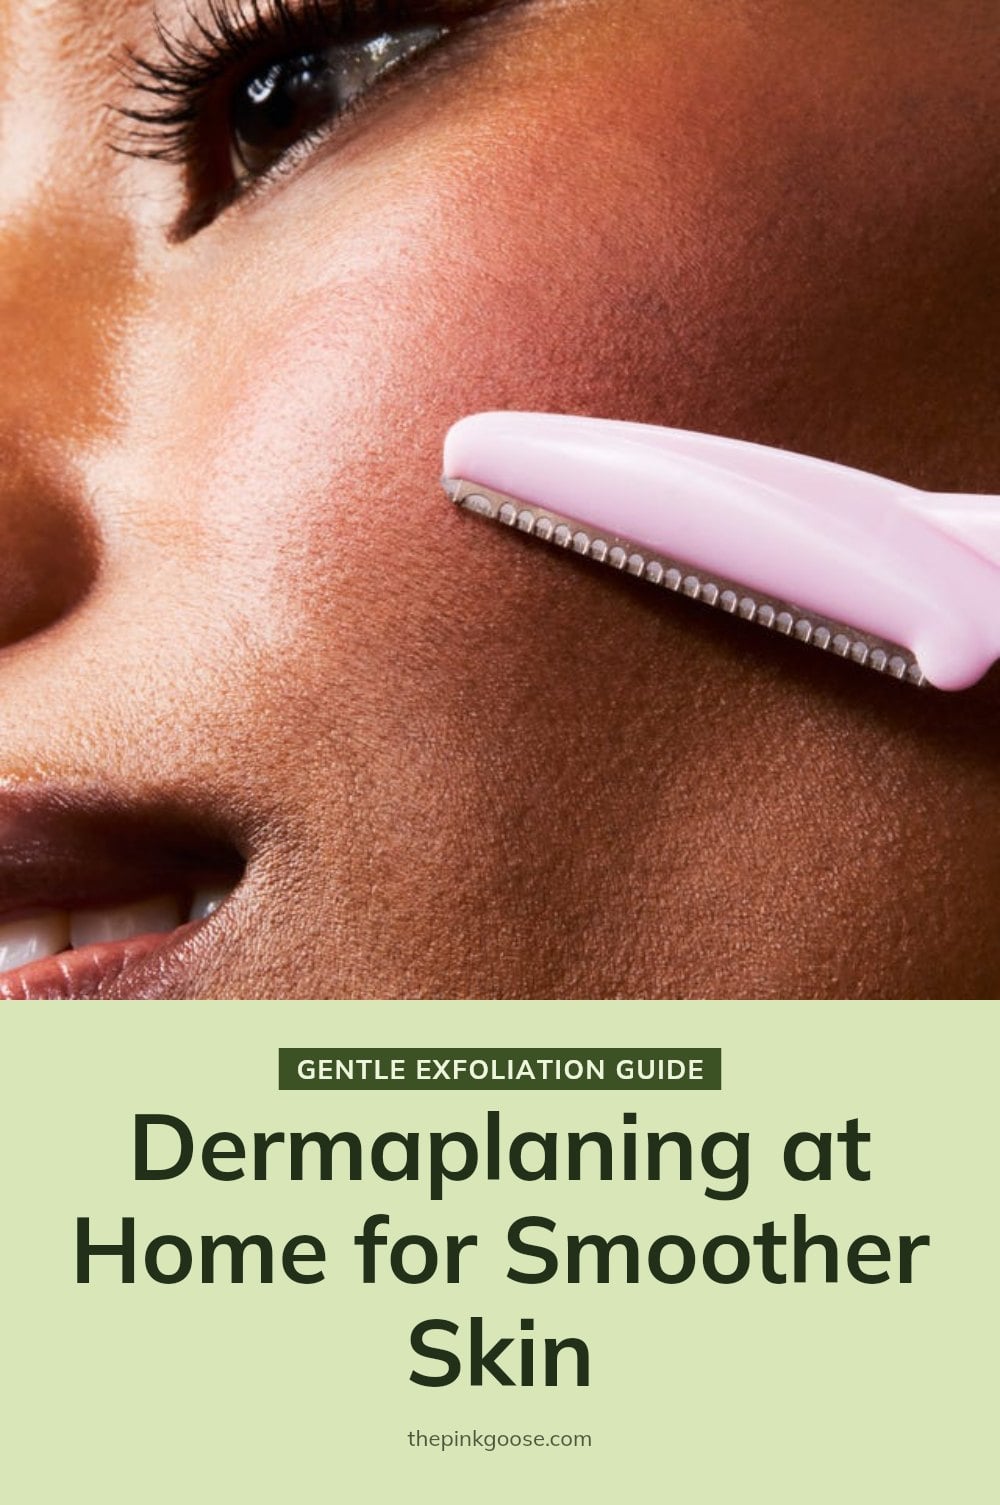
If you’ve been noticing peach fuzz and dull-looking skin, dermaplaning at home might be the smooth-skin solution you’re after. This gentle exfoliating technique removes dead skin cells and fine vellus hair, leaving your face feeling silky and your products working harder. In this article, I’ll walk you through the essential tools, a step-by-step method, common pitfalls, and the aftercare your skin will thank you for. Let’s get into it.
Key Takeaways
- Use a fresh, sterile blade for every dermaplaning session.
- Hold the blade at a 45-degree angle and keep skin taut.
- Skip dermaplaning over active acne, rosacea, or cold sores.
- Apply SPF 30 or higher daily after dermaplaning.
- Wait 3-4 weeks between sessions for skin cell turnover.
What Is Dermaplaning and How Does It Work?
Dermaplaning is a physical exfoliation method that uses a sterile blade to gently scrape off dead skin cells and vellus hair, commonly called peach fuzz, from the surface of your face. The result is smoother, brighter skin that absorbs your serums and moisturizers more effectively, plus a flawless canvas for makeup. A common concern is whether the hair will grow back thicker or darker. It won’t. Dermaplaning removes only the fine vellus hair, and it does not affect the hair follicle or regrowth pattern.
Essential Tools for At-Home Dermaplaning

For at-home dermaplaning, start with a high-quality tool. Choose single-use blades or a reusable handle with disposable, sterile blades. A fresh blade for each session is non-negotiable. You will also need:
- Gentle cleanser: to prep your skin before the procedure.
- Hydrating serum and moisturizer: to soothe and replenish moisture right after.
- Broad-spectrum SPF 30+: essential for protecting your more sensitive skin in the days following.
Your Step-by-Step Guide to Dermaplaning at Home
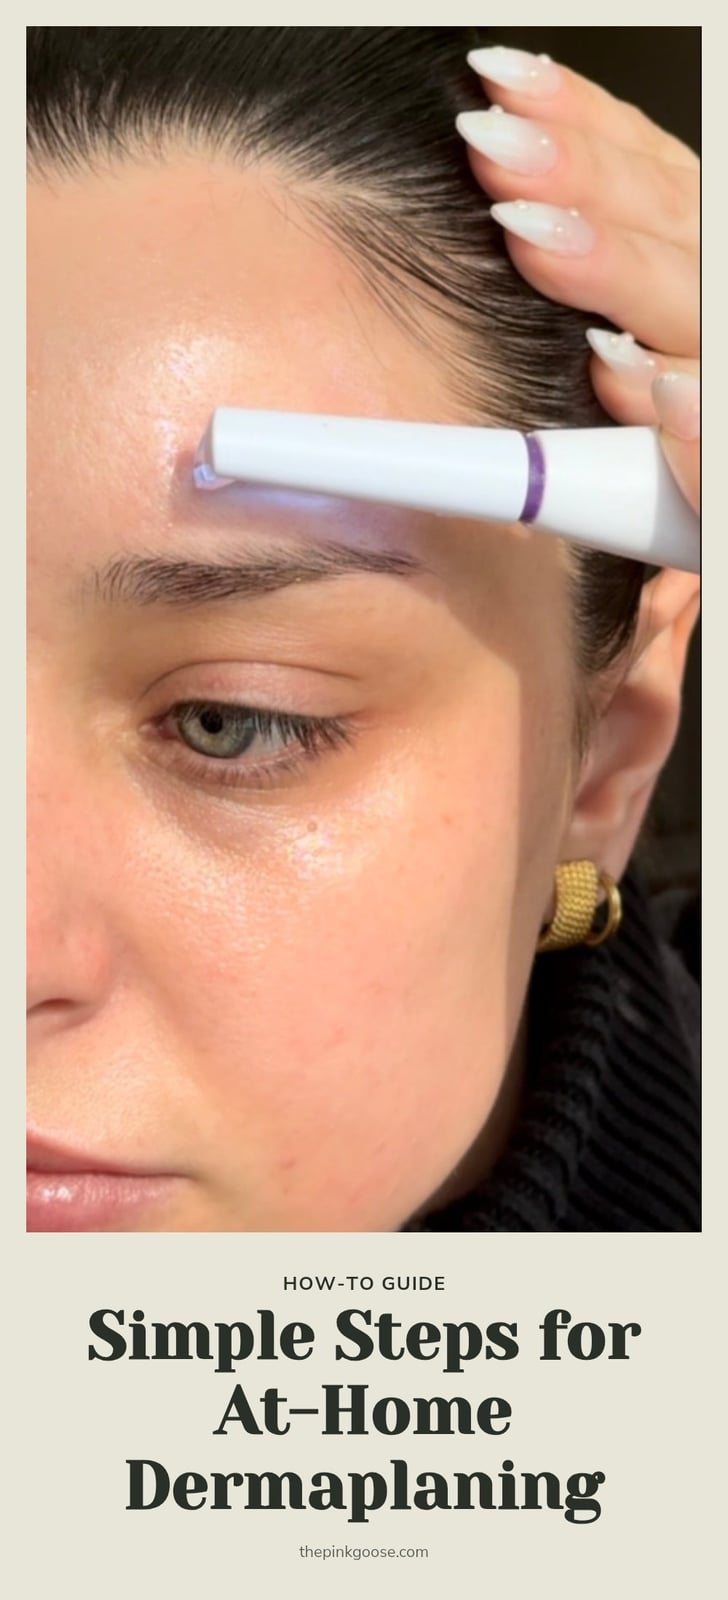
Follow these steps for a safe and effective at-home dermaplaning session.
- Cleanse and dry your skin: Wash your face with a gentle cleanser, then pat it completely dry. Dermaplaning on damp skin is unsafe and less effective.
- Hold the skin taut: Use your free hand to stretch the area you are working on. This creates a flat, firm surface for the blade and helps prevent nicks.
- Position the blade at a 45-degree angle: Hold the tool so the blade meets your skin at a 45-degree angle. This is the sweet spot for effective exfoliation without irritation.
- Use short, light, downward strokes: Work in small sections, moving the blade in the direction of hair growth. Use gentle pressure and let the blade do the work. Avoid going over the same spot more than once.
- Rinse and hydrate: After finishing, rinse your face with lukewarm water to remove any debris. Immediately apply a hydrating serum and a gentle moisturizer to calm your skin.
- Apply sunscreen: Finish with a broad-spectrum SPF 30 or higher. Your skin is temporarily more sensitive to UV rays, so daily sun protection is a must.
Common Dermaplaning Mistakes to Avoid
Even with the right technique, a few common missteps can cause irritation or ineffective results. Avoid these:
- Using a dull or previously used blade: A dull blade tugs at the skin and raises the risk of irritation. Always use a fresh, sterile blade.
- Applying too much pressure: Pressing hard increases your chance of nicks and cuts. Light, short strokes are all you need.
- Dermaplaning on wet or damp skin: Wet skin is more prone to cuts and the blade will not glide properly. Keep your skin dry.
- Not stretching the skin taut: Loose skin can fold under the blade, leading to uneven exfoliation or accidental cuts. Hold it firm.
- Over-exfoliating the same area: Going over a spot multiple times can damage the skin barrier. One pass per area is enough.
- Skipping sun protection afterward: Without SPF, your freshly exposed skin is vulnerable to sun damage. Apply it daily.
Post-Dermaplaning Skincare Routine

Right after dermaplaning, your skin is more receptive to hydration. Apply a hydrating serum immediately to replenish moisture lost during exfoliation. Follow with a gentle, soothing moisturizer to calm the skin and lock in hydration.
Caution: Your skin is temporarily more sensitive to UV damage. Use a broad-spectrum sunscreen with SPF 30 or higher every day, even if you stay indoors. Avoid harsh exfoliants, retinoids, and direct sun exposure for at least a few days to prevent irritation.
How Often to Dermaplane and What to Expect
Dermaplaning results are visible immediately. Your skin will feel smoother, and products like serums and moisturizers will absorb more effectively. The procedure aligns with your skin’s natural cell turnover cycle, which takes about 3-4 weeks.
My tip: Schedule sessions every 3-4 weeks to maintain the benefits. At-home tools are generally more affordable than professional treatments, but quality varies. Investing in a reliable tool with disposable blades pays off in consistent results.
When to Consult a Professional
Dermaplaning is not safe for everyone. If you have active acne, rosacea, eczema, psoriasis, or cold sores, avoid at-home dermaplaning and consult a dermatologist first. The procedure can spread bacteria and worsen inflammation.
Seek professional guidance if you have a history of keloid scarring, as any nick could lead to problematic healing. If you experience severe irritation, persistent redness, or signs of infection after dermaplaning, stop immediately and see a dermatologist.
Frequently Asked Questions
Does dermaplaning make hair grow back thicker?
No, dermaplaning does not make vellus hair grow back thicker or darker. The hair you see after is the same fine, soft peach fuzz, just with a blunt tip from the blade. It may feel slightly stubbly for a day or two, but it won’t change the hair’s color or thickness.
How often can I dermaplane at home?
You can dermaplane every 3-4 weeks to match your skin’s natural cell turnover cycle. Doing it more often can over-exfoliate and irritate your skin. If you’re unsure, start with a 4-week gap and see how your skin responds before shortening the interval.
Can I dermaplane if I have sensitive skin?
If you have sensitive skin, proceed with caution. Dermaplaning can temporarily increase redness and sensitivity. Test on a small area first and avoid active irritation or conditions like rosacea. If you experience severe discomfort, stop and consult a dermatologist.
What should I avoid after dermaplaning?
After dermaplaning, avoid harsh exfoliants, retinoids, and acids for at least a few days. Also skip direct sun exposure and always wear broad-spectrum sunscreen. Your skin is more vulnerable right after, so keep your routine gentle and hydrating.
Is professional dermaplaning better than at-home?
Professional dermaplaning may offer deeper exfoliation and a more even result, especially for those with thicker hair or sensitive skin. At-home tools are gentler and safer for maintenance, but if you have concerns or want a more thorough treatment, a licensed esthetician or dermatologist can tailor it to your skin.
Final Thoughts
Dermaplaning at home can give you that fresh, smooth complexion you’re after, but it’s all about technique and safety. Start with a clean, dry face, use a new blade, and keep your pressure light. Follow up with hydrating products and never skip sunscreen. You’ll see immediate results, but plan to repeat every 3-4 weeks to maintain the glow. If you have any skin concerns or conditions, check with a dermatologist first.
This article is for general informational purposes only and is not a substitute for professional medical or skincare advice. Always consult a dermatologist or licensed esthetician before starting any new exfoliation routine, especially if you have a skin condition or are prone to irritation. If you experience persistent redness, pain, or signs of infection, seek medical attention promptly.