

If you are new to gua sha, you might be making a few common mistakes that can turn a soothing ritual into a source of irritation. The most frequent error is using too much pressure or not enough lubrication, which can leave your skin red, bruised, or simply not give you the results you are hoping for. In this article, I will walk you through the essentials of a safe and effective facial gua sha routine, highlight the mistakes to avoid, and share my go-to step-by-step method that takes just 5 to 10 minutes.

Key Takeaways
- Always apply a generous layer of facial oil or serum before starting gua sha.
- Hold the tool flat against your skin at a shallow angle, around 15 to 45 degrees.
- Repeat each stroke 5 times, using light to medium pressure.
- Warm your gua sha tool with warm water before each use.
- Stop if you feel pain or see redness lasting more than 10 minutes.
The Most Common Gua Sha Mistake and How to Avoid It
The biggest mistake beginners make with gua sha is using too much pressure or skimping on lubrication. That combination can irritate your skin or even cause bruising, which makes the whole practice uncomfortable and ineffective. Always apply a generous layer of facial oil or serum first to create a smooth glide, then use light to medium pressure. Think of it as a gentle massage for lymphatic drainage, not a deep tissue treatment.
What You Need for a Gentle Gua Sha Routine
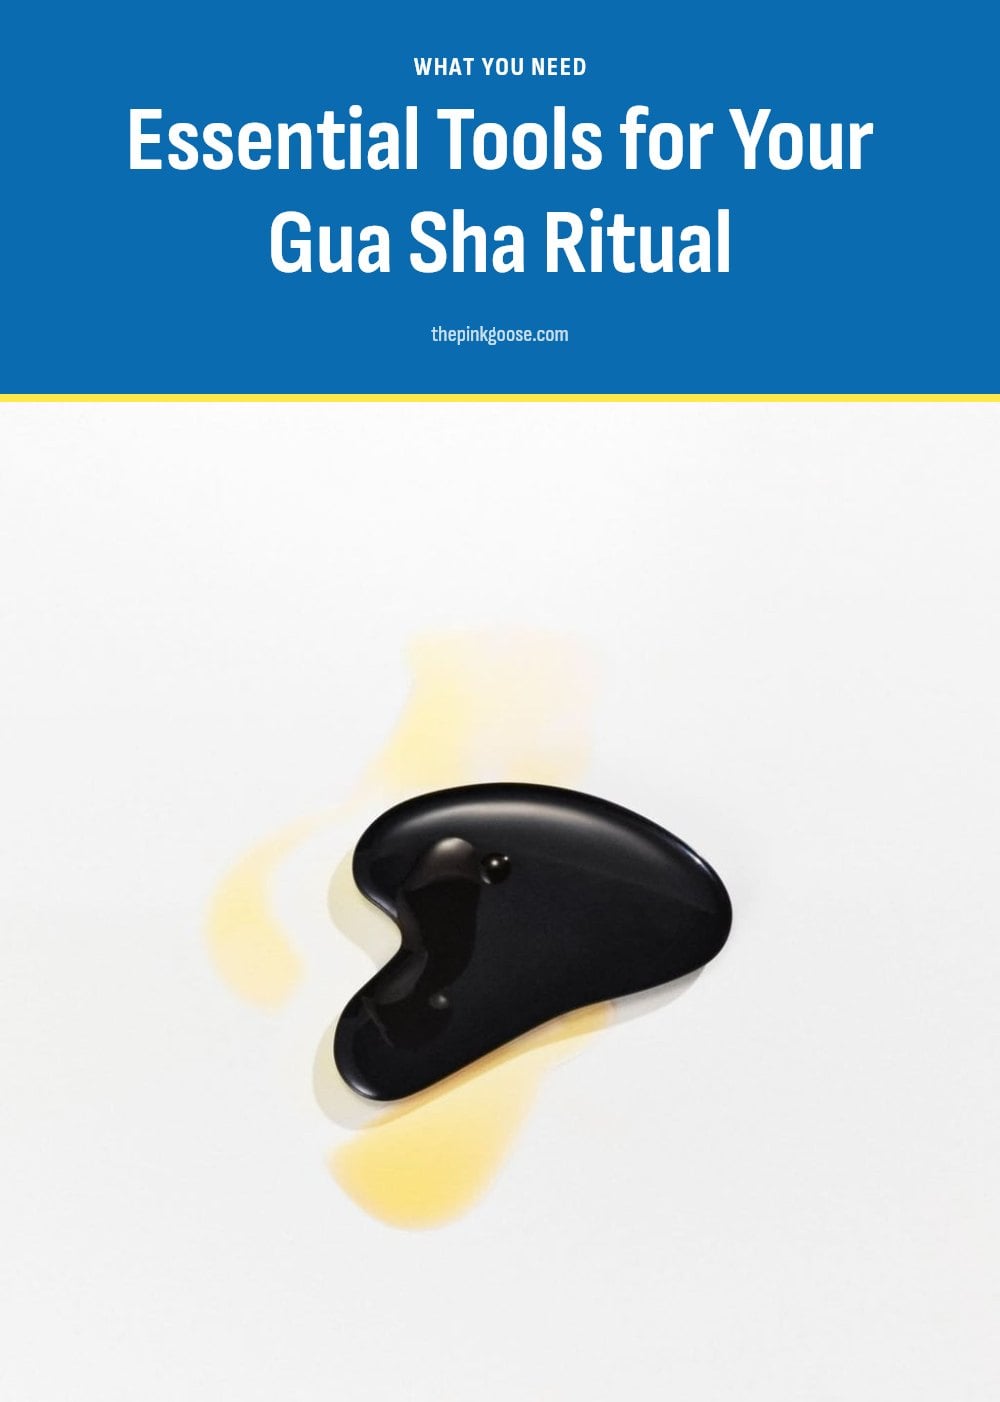
To get started safely, you only need three things:
- A gua sha tool made from jade, rose quartz, amethyst, or stainless steel. Smooth edges are what matter most.
- A facial oil, serum, or balm to provide slip and prevent tugging on your skin.
- A gentle cleanser to prep your face and wash your tool before and after each use.
Step-by-Step: My Go-To Gua Sha Facial Routine
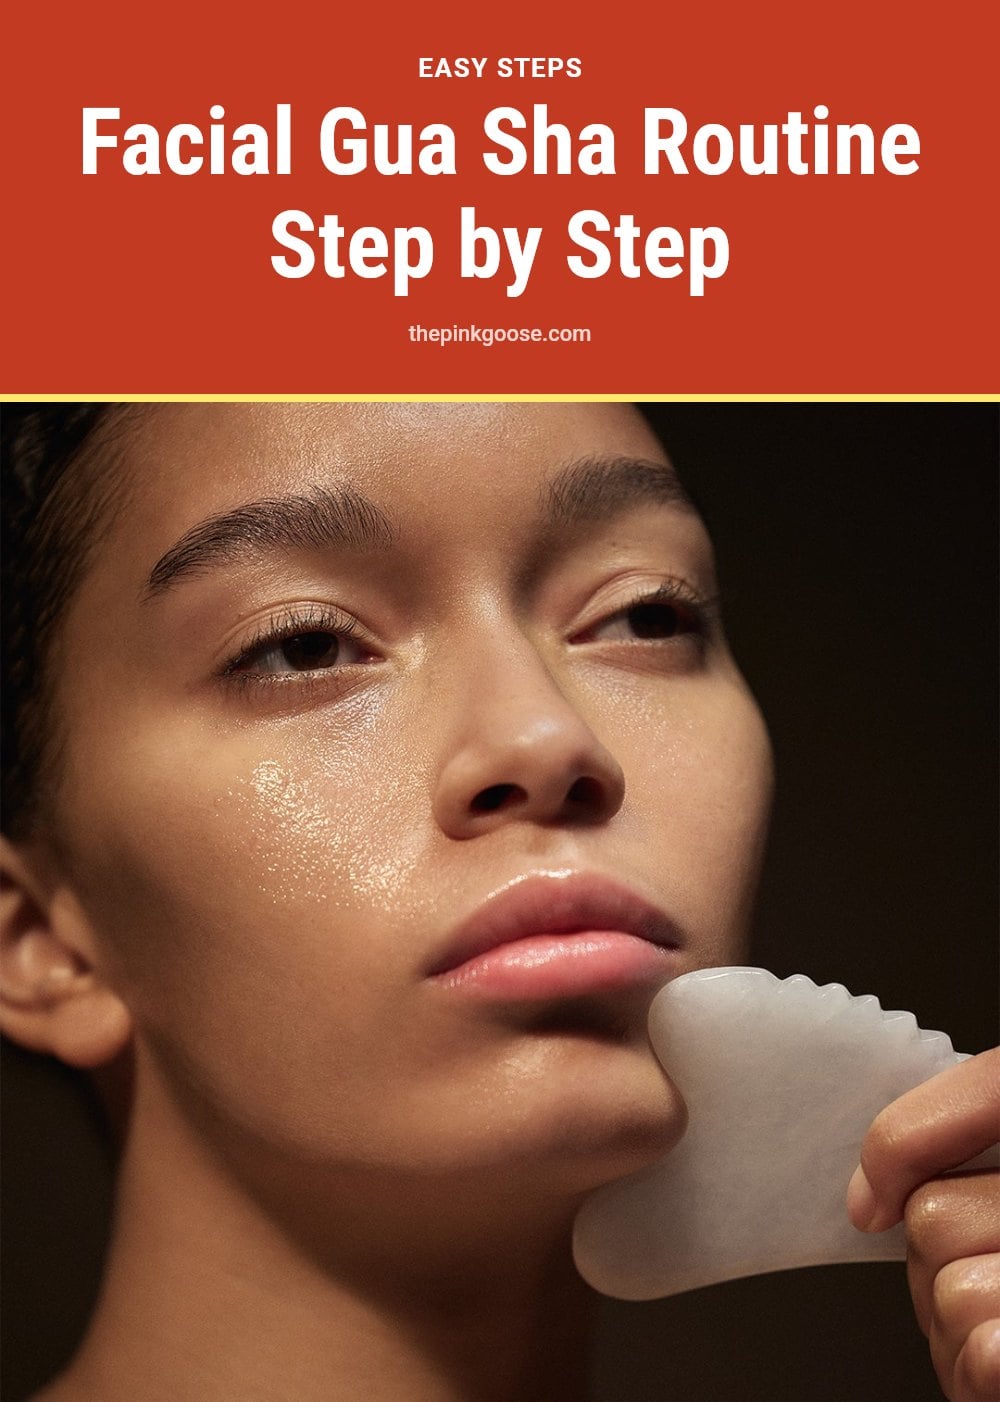
Here is the routine I follow every time. It takes about 5 to 10 minutes and focuses on gentle, consistent strokes.
- Cleanse and prep: Wash your face and your gua sha tool with warm water and soap. Apply a few drops of facial oil so your skin is slippery.
- Warm the tool: Run it under warm water for a few seconds. A warm tool feels much nicer than a cold one.
- Shoulders: Use the heart-shaped part of the tool. Glide it upwards on your shoulder with slight pressure, then wiggle at the end to release tension. Repeat 5 times.
- Collarbone to jaw: Place the tool above your collarbone and slide it up to your jawline. Repeat 5 times.
- Chin to ears: Hold your chin for support. Slide the tool flat against your skin from your chin to below your ears. Repeat 5 times.
- Chin lift: Keep two fingers on your chin. Use the flat side of the tool to drag it upwards toward your ears. Repeat 5 times.
- Cheek depuffing: Press lightly on your smile line. Glide the flat side of the tool up to your ears. Repeat 5 times.
- Nose to brow bone: Place fingers on the opposite side of your nose. Use the edge of the tool to slide it slowly up until it meets your brow bone. Repeat 5 times.
- Around eyes: Place fingers by your nose. Gently slide the tool upward around the eye area. Wiggle on the brow bone to relieve headaches. Repeat 5 times.
- Brow bone to temples: Put two fingers in the center of your brow bone. Glide the tool along the brow bone, then up to your temples. Repeat 5 times.
- Forehead: Keep two fingers in place. Swipe the tool upward on your forehead 5 times, then move to the center and repeat.
- Finish with neck: Place fingers on your chin. Put the tool flat against your skin and drag it upward to your ears, then continue down the neck. Repeat 5 times on each side.
If you learn better by watching, this 15-minute video from Tina Engeo shows every step.
Common Gua Sha Mistakes to Avoid for Best Results
Even with good intentions, a few common errors can reduce results or cause irritation. Avoid these:
- Using a dry face: Always apply enough facial oil or serum. My tip: If your skin feels tugged, add more oil.
- Applying too much pressure: Facial gua sha should be gentle. If your skin stays red for more than 10 minutes or hurts, you are pressing too hard. You want lymphatic drainage, not deep tissue work.
- Incorrect angle: Hold the tool flat against your skin at a shallow 15 to 45 degree angle. Never use a sharp or perpendicular angle.
- Ignoring the neck: The neck is key for lymphatic drainage. Always guide strokes down the neck to help drain fluids.
- Inconsistent strokes: Use smooth, consistent strokes. On the face, move upward and outward. On the neck, move downward. Do not drag back and forth.
- Not cleaning your tool: Wash your gua sha tool with warm water and soap before and after each use. This prevents breakouts.
Top Tips for an Effective Gua Sha Practice
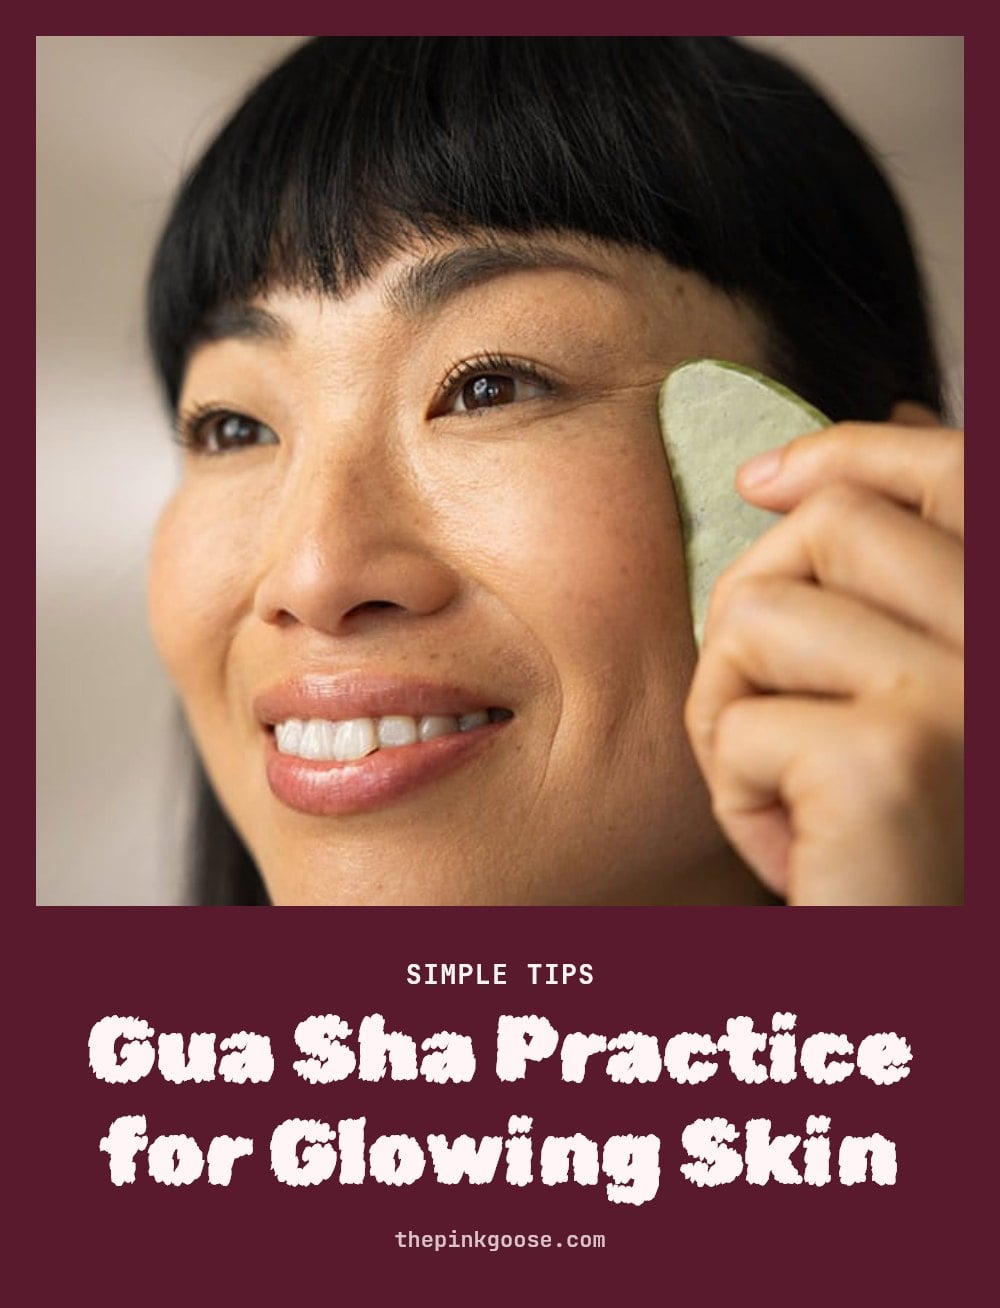
Warm your tool: My tip: Wash your gua sha tool with warm water before use. It feels so much nicer on the skin than a cold tool.
Repeat each step: Aim for 5 repetitions for each stroke to ensure thorough coverage and effectiveness.
Support your skin: When working on areas like the shoulders, hold your skin for support if going upwards to prevent dragging.
Slow and steady: Apply slight pressure and move slowly. This isn’t a race; it’s a mindful massage.
Wiggle for tension relief: At the end of a stroke, especially on the brow bone or shoulders, a gentle wiggle can help release muscle tension.
Be gentle around eyes: The skin around your eyes is very sensitive. Use minimal pressure here.
Avoid cold tools: Don’t keep your gua sha tool in the fridge for a cooling effect; a warm tool is generally more effective and comfortable for facial massage.
When to Pause Gua Sha and Consult a Professional
Stop immediately if you experience pain, excessive redness that lasts more than 10 minutes, or discomfort. Avoid using gua sha over active breakouts, open wounds, sunburned skin, or rashes.
If you have conditions like rosacea, eczema, or very sensitive skin, consult a dermatologist before starting gua sha. Individuals on blood thinners or with clotting disorders should avoid gua sha altogether.
Discontinue use and consult a professional if you notice any unusual or persistent skin reactions.
Frequently Asked Questions
How often should I do facial gua sha?
For most people, 2 to 3 times a week is a good starting point. This frequency allows your skin to recover between sessions while still giving you the potential benefits of improved circulation and lymphatic drainage. If you have sensitive skin, you might want to start with once a week and see how your skin responds.
What kind of oil should I use for gua sha?
Any facial oil, serum, or balm that provides enough slip will work. The key is to use a generous amount so the tool glides smoothly without tugging. My tip: choose a lightweight oil that absorbs well, like jojoba or squalane, but avoid anything with active ingredients that might irritate if you are using a lot of it.
Can gua sha help with acne?
Gua sha is not a treatment for active acne, and you should avoid using it over breakouts or open skin. However, regular gua sha may help improve circulation and reduce puffiness, which could support overall skin health. If you have acne, it is best to consult a dermatologist before incorporating gua sha into your routine.
How long does it take to see results from gua sha?
Results vary, but many people notice a reduction in puffiness immediately after a session. For more lasting changes, like improved skin tone or reduced muscle tension, you may need to practice consistently for several weeks. Aim for 2 to 3 sessions per week and be patient with your skin.
What’s the difference between facial and body gua sha?
Facial gua sha uses much lighter pressure and focuses on the face and neck, while body gua sha can be more intense and may leave temporary red marks called ‘sha’. The tools are similar, but the technique and pressure differ significantly. Always follow a routine designed for the area you are working on.
Final Thoughts
For the best results, make gua sha a consistent part of your routine, aiming for 2 to 3 sessions per week. Each session should take about 5 to 10 minutes, and you might start to notice a difference in puffiness and skin tone after several weeks of regular practice. My tip: keep your strokes gentle and always support your skin with enough oil, and you will turn this ancient practice into a relaxing self-care habit that your face will thank you for.
This article is for general information only and is not a substitute for professional medical advice. Gua sha may not be suitable for everyone, especially if you have certain skin conditions or are taking blood thinners. If you have any concerns or experience persistent irritation, please consult a dermatologist or healthcare provider.