

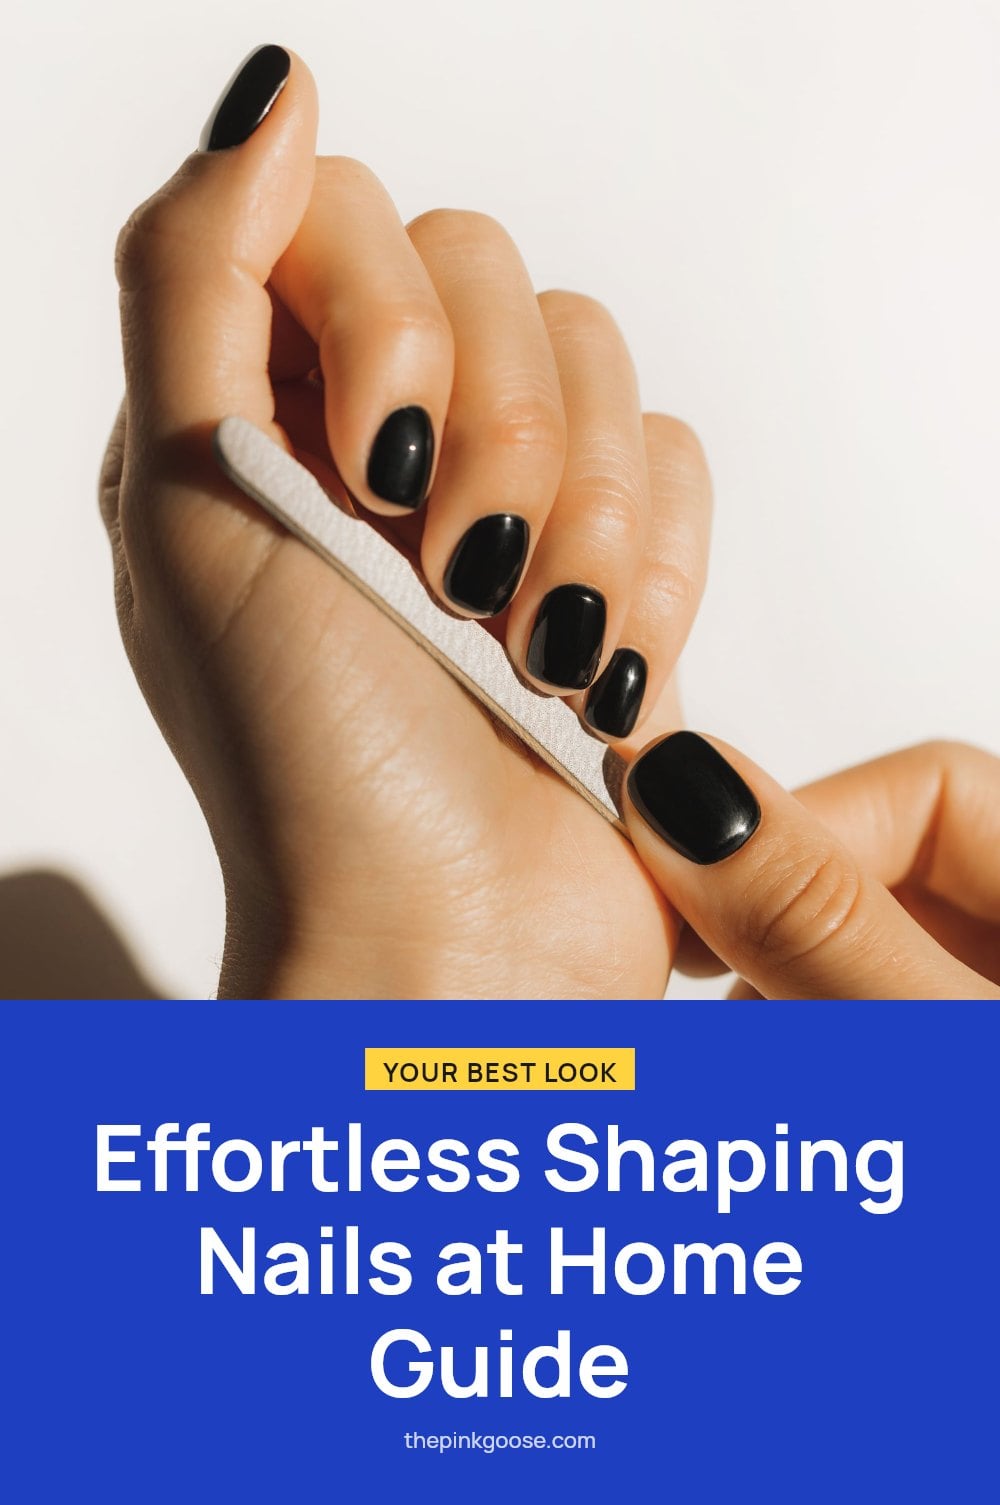
Getting the perfect nail shape at home is easier than you might think, and it can completely transform the look of your hands. Whether you want something classic or trendy, the right shape makes all the difference. This article walks you through the most popular nail shapes, how to choose the best one for your fingers, and the simple filing techniques that give you a salon-quality finish.
Key Takeaways
- File dry nails in one direction from the side toward the center to prevent splitting.
- Round and square shapes work best for very short nails.
- Oval and almond shapes can make your fingers appear longer and more slender.
- Change your nail shape gradually over a few filing sessions, not all at once.
- Start with a basic shape like round or squoval if you are new to shaping nails.
Mastering Your Nail Shape at Home
Getting salon-quality nail shapes at home is totally doable once you understand a few key styles and use the right filing technique. My tip: always file dry nails in one direction, from the side toward the center, to prevent splitting. Then choose a shape that flatters your hand and finger proportions for the best result.
Tools for Perfect Nail Shaping
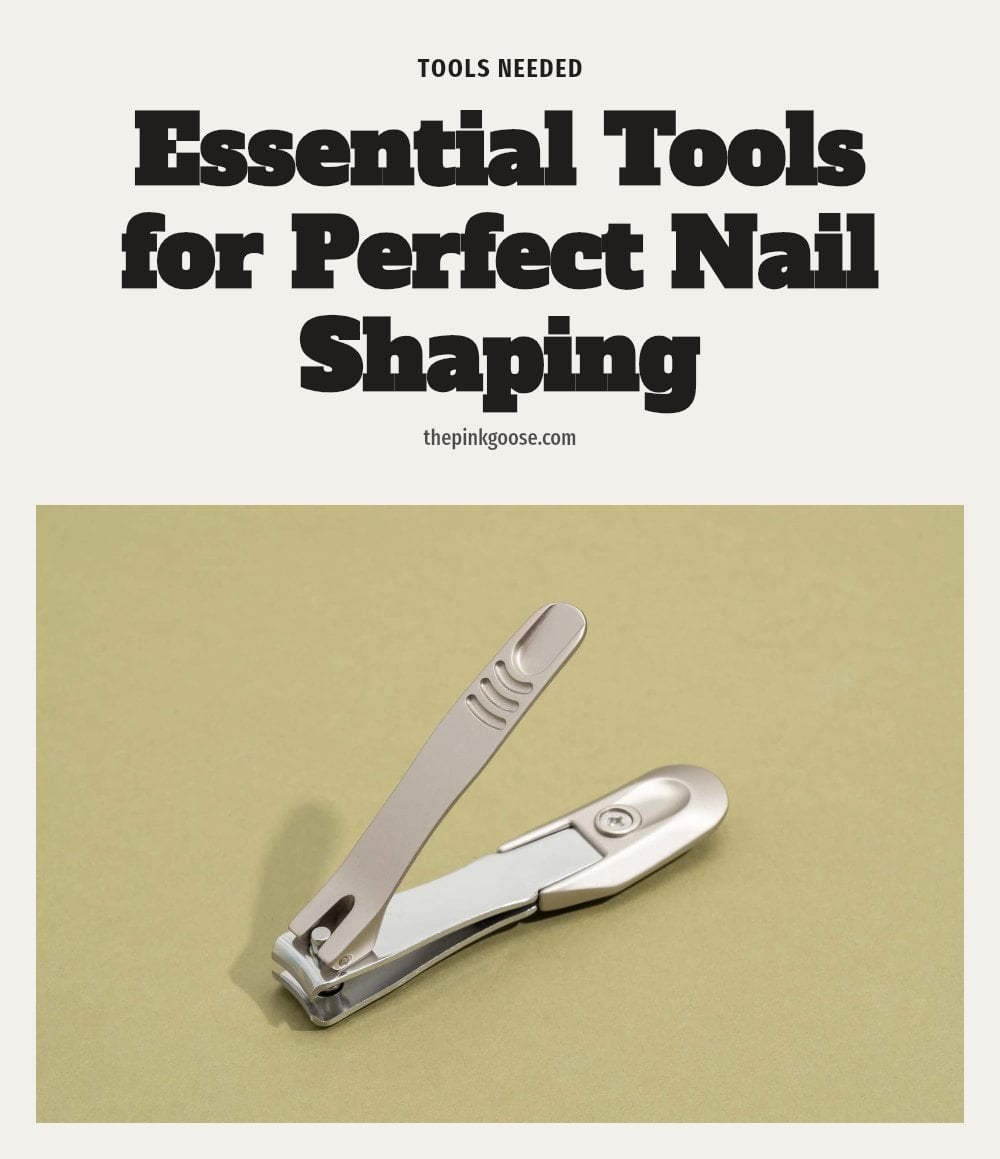
You don’t need a drawer full of tools to shape nails well. Here’s what I keep on hand:
- Nail file: An emery board or glass file is essential. Glass files are gentler and last longer.
- Nail clippers: Optional but useful for quickly reducing length before filing.
- Cuticle pusher: Pushes back cuticles for a clearer view of your nail bed.
- Nail buffer: Smooths the nail surface and adds a subtle shine.
That’s really all you need for a perfect at-home shape.
Choosing the Best Nail Shape for Your Hands
Choosing a nail shape is about more than just style. It should complement your hands. Here’s a quick guide to the most common shapes and what they do for your fingers.
| Shape | Description | Best For |
|---|---|---|
| Round | Mirrors the natural curve of your fingertip | Low maintenance, short nails |
| Oval | More tapered than round, like an egg | Elongating fingers |
| Square | Straight sides and a blunt free edge | Strong, durable look |
| Squoval | Square with rounded corners | Strength with softness |
| Almond | Tapers to a soft, rounded point | Making fingers look longer |
| Coffin (ballerina) | Almond shape with a flattened tip | Dramatic, modern style |
Consider your natural nail bed width, finger length, and daily activities when picking a shape. Round or squoval are great starting points if you’re unsure.
Step-by-Step: How to Shape Your Nails
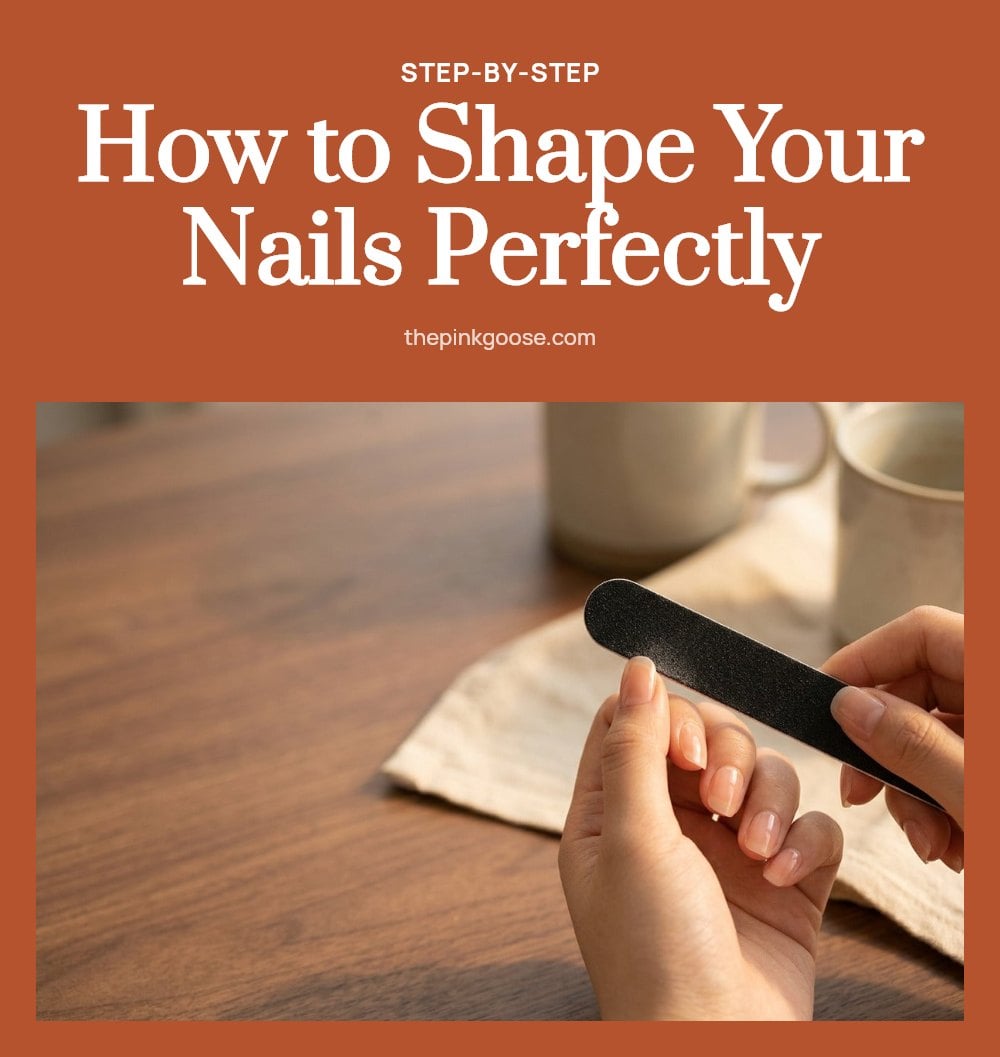
Shaping your nails at home is straightforward once you know the steps. I usually do this every 1-2 weeks, depending on growth.
- Prepare your nails: Make sure they are completely dry. Push back your cuticles gently so you can see the full nail bed.
- Reduce length: If your nails are long, use clippers to trim them first. Leave a little extra length for filing so you don’t overshoot your desired shape.
- File in one direction: Start at the side of the nail and file toward the center. Never saw back and forth, that weakens the nail plate and causes splitting.
- Refine the shape: Check symmetry as you go. File a few strokes on one side, then the other, to keep things balanced. My tip: hold the file at a slight angle under the nail for better control.
- Smooth the edges: Flip your file to the finer grit side and gently buff the free edge. This removes any rough spots and prevents snagging.
- Finish with moisture: Apply hand lotion or cuticle oil to hydrate the nail and surrounding skin. This keeps your new shape looking fresh.
Common Nail Shaping Mistakes to Avoid
Filing wet nails: This is a common mistake that leads to splitting and peeling. Always file your nails when they are completely dry.
Sawing back and forth: Using a back-and-forth motion weakens the nail plate and can cause damage. File in one direction, from the side toward the center.
Over-filing the sides: Filing too deeply into the sides near the nail bed weakens the nail and increases the risk of breakage. Keep the file away from the skin.
Ignoring your natural nail growth: Forcing a shape that fights your natural nail bed can result in an unflattering look or a weak structure. Use your nail bed as a guide.
Rushing the process: Trying to shape nails quickly often leads to uneven edges and damaged tips. Take your time and check symmetry as you go.
Pro Tips for Long-Lasting Nail Shapes
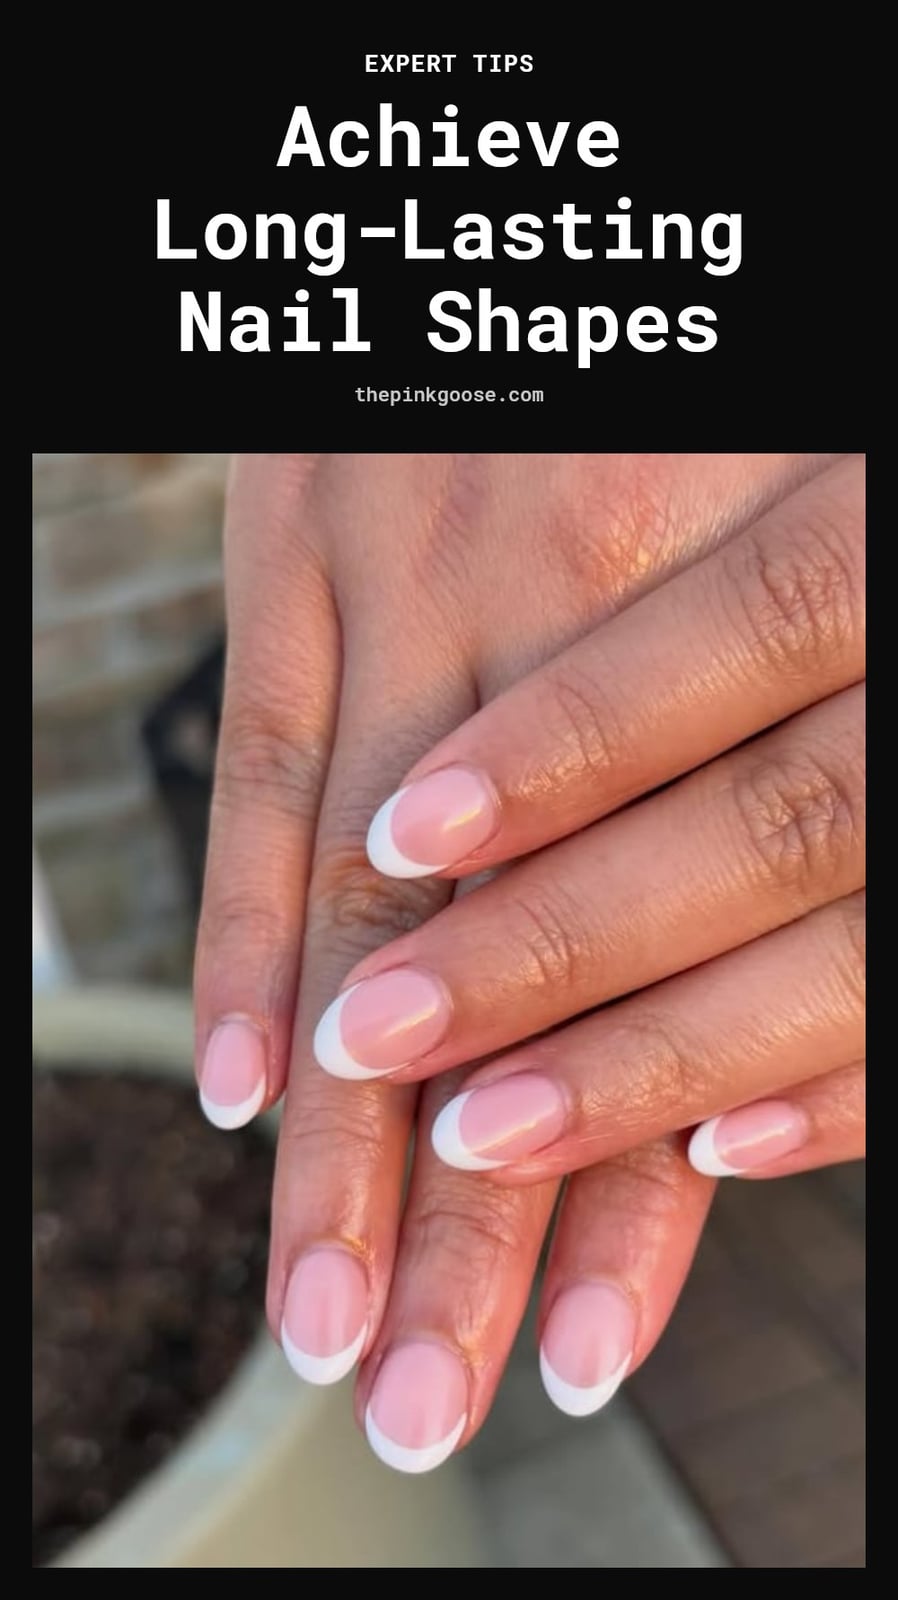
Start simple: If you are new to shaping, begin with a basic shape like round or squoval. This builds your confidence and reduces the risk of mistakes.
Match your lifestyle: Active individuals often do better with stronger shapes like square or squoval, which are less prone to breakage during daily tasks.
Follow your nail bed: The natural curve of your nail bed is a reliable guide for a flattering shape. Let it inform your filing direction.
Change gradually: Avoid drastic shape changes in one session. Adjust your nails slowly over a few weeks to prevent damage and maintain strength.
Choose the right file: Harsh metal files can cause micro-tears. Opt for an emery board or a glass file for gentler, more controlled shaping.
Frequently Asked Questions
How often should I shape my nails?
You can shape your nails every 1-2 weeks, depending on how fast they grow and the length you want to keep. If you maintain a consistent shape, a quick touch-up each week is usually enough to keep them looking neat.
Can I change my nail shape drastically in one go?
It is not recommended to change your nail shape drastically in one session. Doing so can lead to unevenness or damage. Instead, gradually adjust the shape over a few filing sessions, taking off a little at a time.
What is the best nail shape for short fingers?
Oval and almond shapes are often recommended for making fingers appear longer and more slender. These shapes create an elongated look that can balance shorter fingers. Round and squoval shapes can also work well if you prefer a softer appearance.
Should I use nail clippers before filing?
Yes, using nail clippers to reduce length before filing is optional but helpful, especially if your nails are very long. It saves time and makes the shaping process quicker. Just remember to file dry nails and always file in one direction afterward.
Final Thoughts
My tip: start with a simple shape like round or squoval if you are new to shaping. It builds your confidence and reduces the risk of mistakes. Expect to reshape your nails every 1-2 weeks as they grow. With a little practice, you will be able to choose a shape that flatters your hands and fits your lifestyle.